
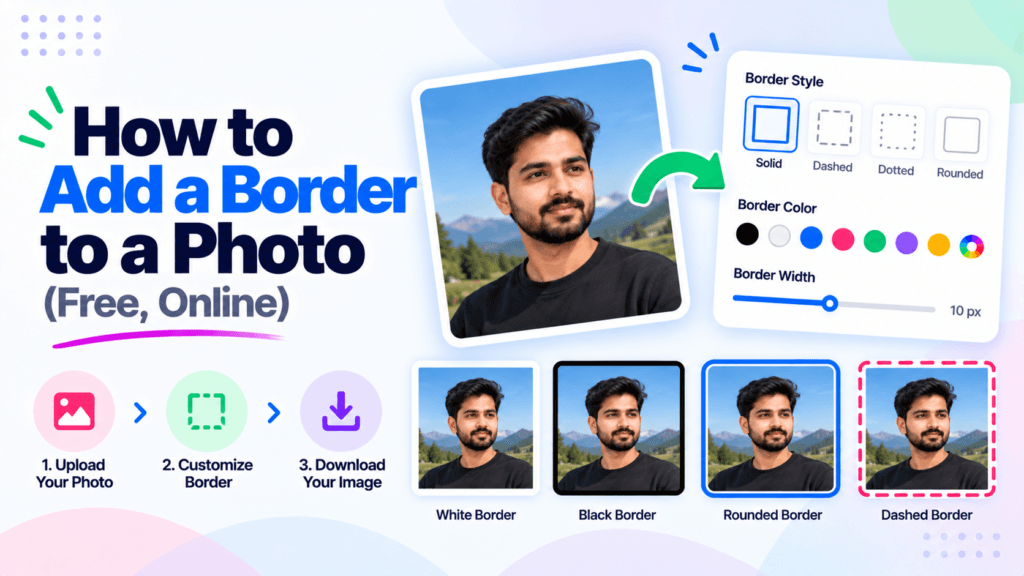
You shot a clean photo, posted it, and it just vanished into a busy feed. A thin frame around the edges would have made it pop. Learning how to add a border to a photo takes about ten seconds, and you do not need Photoshop or a paid app. You can set the color, pick the width, and download a finished file right in your browser. This guide walks through the free online way with the Pixellize Add Image Border tool, the border styles worth knowing, and the exact settings for an Instagram square or a polaroid look.
- Add a border to a photo online for free by uploading it, setting a color and width, and downloading, no install needed.
- A thick white outside border gives the classic polaroid or print look; a thin 2 to 8 pixel frame suits social posts.
- For Instagram, a white border stops the square crop from cutting off your photo.
- The Pixellize tool runs in your browser, so your image is never uploaded to a server.
- Choose Outside to grow the canvas or Inside to overlay the edges without changing the size.
Why add a border to a photo?
A border does three practical jobs. It separates a photo from whatever sits behind it, so a white product shot does not blend into a white page. It frames a social post so the eye stops scrolling. And it makes a picture print-ready, since most labs want a small margin around the image.
Here is the thing. The border does not have to be fancy to work. A single clean line in the right color pulls a messy grid of photos into one consistent set. Resellers do this across a whole WhatsApp catalog so every product looks like it belongs to the same shop. You get that result in one step, no design skills required.
How to add a border to a photo online, free
The fastest route is a browser tool, because there is nothing to download and nothing to learn. Open the Pixellize Add Image Border tool, and the whole thing takes four clicks. Everything happens on your device, so the photo never leaves your computer.
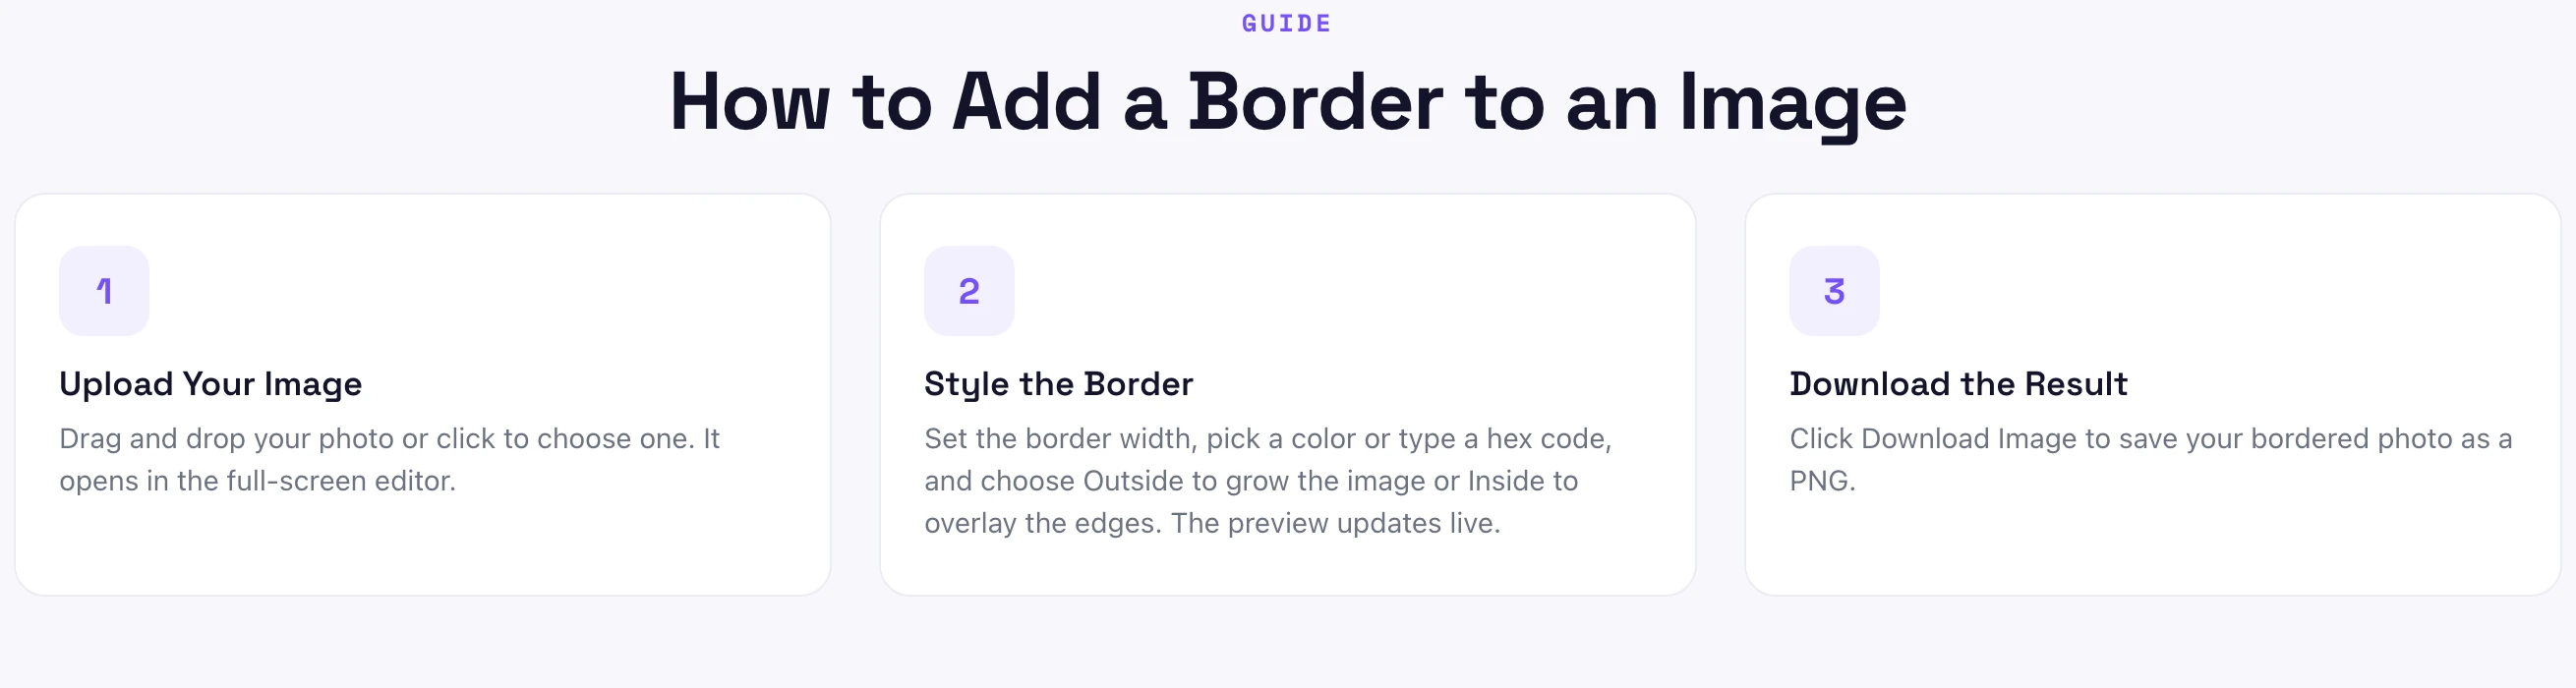
- Upload your photo. Drag and drop the image, or click Choose Image. It accepts JPG, PNG, WebP, and GIF, and opens in a full-screen editor.
- Pick a color. Use the color picker or type a hex code. White is the safe default, black suits bright photos, and a brand color ties a set together.
- Set the width. Drag the width slider. The live preview updates as you move it, so you see the frame before you commit.
- Choose Outside or Inside. Outside grows the canvas and keeps the full photo. Inside overlays the edges, so the size stays the same but a sliver of the photo is covered.
- Download. Click Download Image and the bordered photo saves as a PNG.
That is the entire flow for how to add a border to a photo. The first time I tried it I expected an export menu with twenty options, and there was none, just a width, a color, and a download. For a quick frame, that is exactly right.
Border styles: solid, polaroid, and thin frame
You do not need preset buttons to get different looks. Each style below is just a color plus a width on the same tool. Think of the width slider as the difference between a subtle line and a full frame.
| Border style | Settings | Best for |
|---|---|---|
| Thin frame | White or black, 2 to 8 px | Social posts, thumbnails |
| Polaroid / print | White, 40 to 80 px, Outside | Prints, scrapbook, retro look |
| Bold accent | Brand color, 10 to 20 px | Matching a product set |
| Edge overlay | Any color, Inside | Fixed size, no canvas change |
The polaroid look is the one people ask about most. There is no special filter behind it. A classic polaroid is simply a thick white border, usually with a little extra at the bottom. Set the color to white, push the width up, and keep it on Outside so the whole photo stays visible. Pixellize gives you that in two slider moves.
- Instagram square frame: white, 30 to 50 px, Outside
- Polaroid: white, 50 to 80 px, Outside
- Clean social post: white, 6 px, Outside
- Dark photo pop: white, 4 px, Inside
- Product catalog set: same brand color and width on every photo
What is the best border size for a photo?
The best border size for a photo is 2 to 8 pixels for a subtle social frame, and 40 to 80 pixels for a polaroid or print look. Size it relative to the photo. On a 1080 pixel Instagram image, a 6 pixel line reads as a clean edge, while 50 pixels reads as a bold white frame. Preview before you download.
Keep in mind that width is relative, not absolute. The same 10 pixel border looks hefty on a small thumbnail and barely visible on a 4000 pixel photo. This is why the live preview matters more than any number. If a set of photos must match, lock one width and reuse it across every image instead of eyeballing each one.
Add a border to a photo for Instagram
Instagram still favors the square, and a tall or wide photo gets cropped when it fills one. A white border is the fix. Add enough border to pad the photo out, and the square crop lands on the border instead of your subject. Your composition survives, and the white frame looks intentional.
Start with white at 30 to 50 pixels on Outside, check the preview, and adjust until the photo breathes inside the frame. If your photo is very tall, you may want to square it first. The Pixellize crop image tool and the image resizer pair well here: crop or resize to shape, then add the border. Did you know a consistent white border is one of the oldest tricks for making a feed look curated?
How do you add a border without Photoshop?
You add a border without Photoshop by using a free browser tool that does the one job well. Upload the photo, set a color and width, and download, with no subscription and no 2 GB install. The Pixellize Add Image Border tool does this in four clicks, and because it runs in your browser, the image is never uploaded to a server.
Photoshop can do it too, of course, through Canvas Size or a stroke layer, and so can free desktop apps like Paint.NET. Those make sense if the photo is already open there. For a one-off frame, opening a heavy editor is overkill. Browser options from Adobe Express and Canva work as well, though both push you toward an account and a wider design suite.
Common mistakes to avoid
- Going too thick on small images. A 40 pixel border on a 400 pixel thumbnail eats the photo. Scale width to the image.
- Using Inside when you meant Outside. Inside covers the outer edge of your photo. If a detail sits near the border, use Outside so nothing is lost.
- Clashing colors. A bright red frame fights most photos. White, black, or a muted brand color is safer.
- Mismatched sets. Different widths across a product grid look sloppy. Reuse one setting.
- Re-exporting repeatedly. Each save of a JPG loses a little quality. Border your original once, or keep a PNG master.
Set a color, drag the width, and download. No account, no install, nothing uploaded.
Open the Add Image Border toolNow you know how to add a border to a photo in under a minute, pick a size that fits the image, and get a polaroid or Instagram frame without Photoshop. Open the Pixellize Add Image Border tool, drop your photo, and download your framed version. If you also need to resize or convert the file afterward, the Pixellize image converter turns that PNG into a lighter JPG or WebP in one more click.
Frequently Asked Questions
How do I add a border to a photo for free?
Open a free browser tool like the Pixellize Add Image Border tool, upload your photo, pick a color and a width, choose Outside or Inside, and download the result as a PNG. There is no account and no install, and the image stays on your own device the whole time.
What size border should I add to a photo?
Use 2 to 8 pixels for a subtle social frame and 40 to 80 pixels for a polaroid or print look. Size it relative to the photo, because the same width looks bolder on a small image than a large one. Use the live preview to judge it before you download.
Can I add a white border for Instagram?
Yes. Add a white border of about 30 to 50 pixels on Outside so the square crop lands on the frame instead of your subject. This keeps tall or wide photos from being cut off, and the matching white edge gives your feed a clean, consistent look.
How do I add a border without Photoshop?
Use a free browser tool that handles the single job. Upload the photo, set a color and width, and download, with no subscription or heavy install. The Pixellize Add Image Border tool runs entirely in your browser, so your photo never leaves your device.
Does adding a border reduce photo quality?
Adding a border does not reduce the quality of the photo itself, since the tool draws the frame around or over the existing pixels. Quality only drops if you re-save a JPG many times. Keep a PNG master, or add the border to your original once and stop there.
What is a polaroid border?
A polaroid border is a thick white frame around a photo, usually with a little extra space at the bottom. You recreate it by setting the border color to white, pushing the width up to about 50 to 80 pixels, and keeping it on Outside so the whole photo stays visible.

Simranjit Kaur
Founder and CEO of Pixellize.io, building AI-powered web tools and digital products with a focus on user experience and automation. M.Sc. Zoology, working at the intersection of technology, data analytics, and life sciences.