
How to Blur a Photo Background Online (Step by Step)
A plain, friendly guide to blurring the background of any photo. Free, no upload, works in your browser. Tips, limits, and answers…
Read article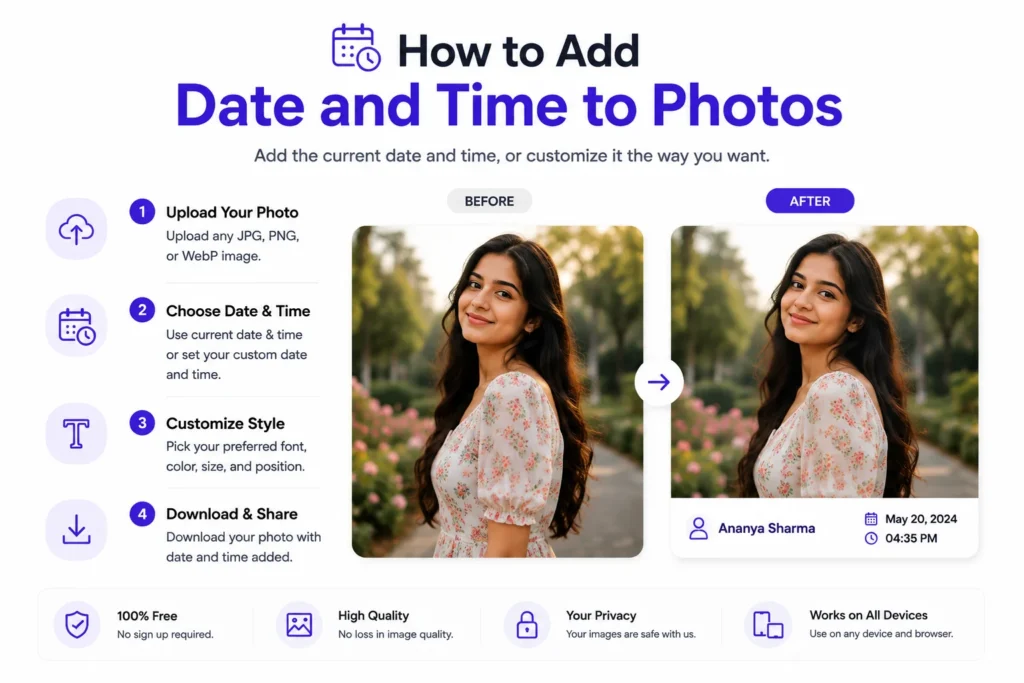
Most cameras and phones record the exact moment a photo was taken, but they bury it in hidden file data called EXIF. Nobody looking at the photo sees it. Print it, share it, or submit it as documentation, and the date disappears entirely. The only way to make the date visible on the photo itself is to stamp it in as text.
The Pixellize date on photo tool does that in seconds, free, with a custom font, color, and position, all in your browser. This guide covers every method, from the online option to desktop apps and phone apps, so you can pick the one that fits your situation.
| Method | Works on phone | Batch | Customizable | Free |
|---|---|---|---|---|
| Pixellize (browser) | Yes | No (one at a time) | Yes (font, color, position) | Fully free |
| Fotor (browser) | Yes | Yes (up to 50) | Yes | Limited free tier |
| Camera date stamp | Yes | Auto on every shot | No | Fully free |
| BatchPhoto (desktop) | No | Yes (unlimited) | Yes | Paid |
| Photoshop / GIMP | No | No (manual) | Yes (full design) | GIMP is free |
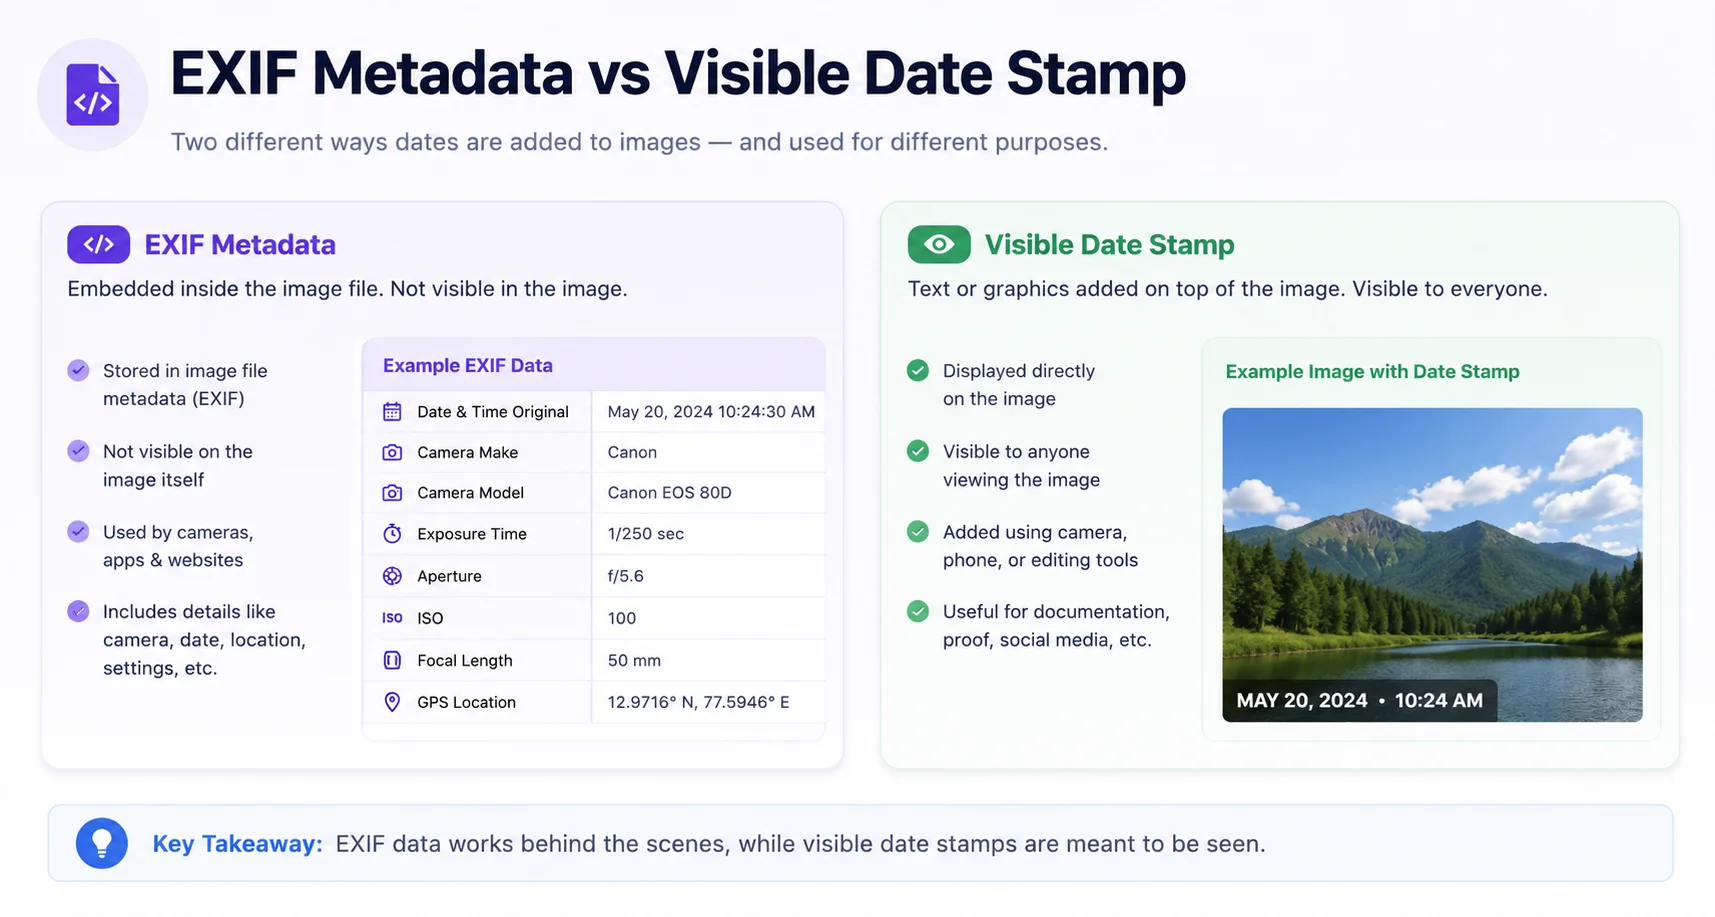
EXIF data is hidden metadata inside the file, invisible in the photo. A visible date stamp is text printed onto the pixels, readable by anyone who views or prints the image. EXIF is stripped automatically by Instagram, WhatsApp, and most messaging apps, so it cannot be relied on for insurance or legal documentation.
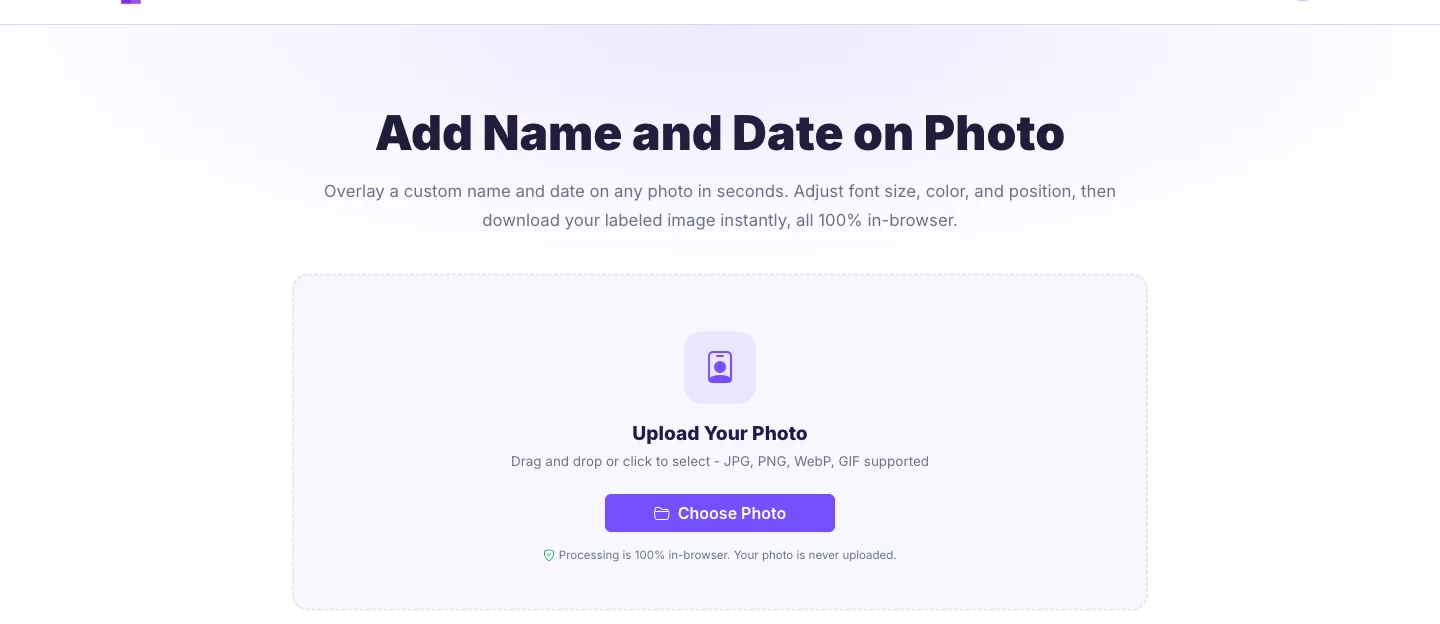
The Pixellize add date on photo tool runs entirely in your browser. No account, no watermark, nothing uploaded to a server.
A visible date stamp matters in 5 situations: insurance claims, construction records, property inspections, before-and-after comparisons, and printed family albums. In each case the date must survive sharing and printing, not hide in metadata. Insurance adjusters often require timestamped photos, and EXIF data is easy to dispute in ways a visible stamp is not.
iPhone photos store the capture date in EXIF but do not stamp it visibly. The easiest way to know how to add date and time to photos on iPhone is to use the Pixellize tool in Safari. No app download needed. There are two ways to add a visible date stamp on iOS: use the Pixellize tool in Safari, or use a dedicated app. The Pixellize date stamper works in Safari on iPhone with no download, tap Choose Photo to pick from your camera roll, adjust the text, and tap Download to save the labeled PNG. For photos already taken, this is the fastest option. If you prefer a dedicated app, Timestamp Images reads the EXIF date automatically and stamps it with one tap.
The best way to add date and time to photos on Android is to use the Pixellize tool in Chrome. Open the tool, tap Choose Photo, pick the image from your gallery, customize the date text and color, then download. For batch stamping many Android photos at once, the Add Text and Timestamp app (Google Play) handles multiple images in one pass, but it is app-based and keeps the photos on-device. Keep in mind the free tier of most Android timestamp apps limits the number of images per day.
The phrase “add date and time to photos already taken” comes up a lot in insurance and legal contexts. You stamp the date as visible text after the fact, since the capture moment is already past. The Pixellize tool handles this directly: you supply the date text yourself, so you can type any date you want, matching the original capture date from the EXIF data if needed. To find the original date, right-click the photo on a Mac or PC, choose Properties (Windows) or Get Info (Mac), and look under Date Taken or Date Created. Then type that date into the Pixellize date field and stamp it onto the photo.
Overlay places date text on the photo itself and keeps the original dimensions. White label adds a clean strip below the image. Use overlay for albums and social posts. Use white label for insurance or legal photos where legibility matters most. Pixellize offers both, most free tools only offer overlay.
If you need to stamp dozens or hundreds of photos at once, a desktop app is faster than doing them one at a time online. BatchPhoto (Windows and Mac) can read the EXIF capture date from each photo automatically and stamp it, saving you from typing the date for every image. According to BatchPhoto’s own documentation, it supports custom date formats, font choices, and precise positioning, and processes photos in bulk with a single export. It is a paid app with a free trial. GIMP and Photoshop can do the same job with a text layer, but neither reads EXIF dates automatically, so those are better for single images where you want complete design control.
For most people, one photo at a time with Pixellize is the right answer. Fotor also offers free batch date stamping for up to 50 images in the browser if you need more volume. The free Pixellize date stamp tool takes under a minute per photo, runs on any device, and never asks for an account or watermarks your output. If you have a folder of 50+ photos to label at once, look at BatchPhoto or a Lightroom plugin instead.
The fastest way to add date and time to photos is to open the free Pixellize date on photo tool, upload your image, type the date, pick the color and layout, and download the labeled PNG. This works for any photo, including how to add date and time to photos already taken. No signup, no watermark, no install. Works on desktop and phone. For legal or insurance photos, use the white label layout so the date sits in its own clean strip. For albums and social posts, overlay keeps the photo full size.
Free, in your browser. Custom font, color, overlay or white label, no watermark.
Open the Date on Photo toolYou can also use Pixellize to add a watermark to your photo, resize the image, or compress it before sharing. All tools run in your browser with no upload.
Open the Pixellize add date on photo tool in any browser, click Choose Photo, and upload your image. Type the date text in the field, pick the font size and color, choose between overlay and white label layout, then click Download. The labeled photo saves as a PNG with no watermark. No signup or install needed, and the photo never leaves your device.
To add a date to a photo already taken, you supply the date text yourself in the Pixellize tool. Find the original capture date by right-clicking the file on Windows (Properties, then Details tab) or Mac (Get Info), look for Date Taken or Date Created. Type that date into the Pixellize date field and stamp it onto the photo. The tool places the date as visible text on the image.
Yes. Open the Pixellize tool in Safari on your iPhone, tap Choose Photo to pick from your camera roll, type the date, adjust the style, then tap Download to save the labeled PNG to your phone. No app download needed. If you prefer a dedicated app, Timestamp Images on the App Store reads the capture date from the photo metadata and stamps it automatically with one tap.
EXIF date is invisible metadata stored inside the image file. It records when the photo was taken but is not visible in the photo itself. Most social media platforms strip EXIF when you upload a photo. A visible date stamp is text printed onto the pixels of the photo, so the date appears in the image no matter where it is shared, printed, or submitted as documentation.
Use overlay when the date stamp is for albums, social posts, or personal use. The text sits on top of the photo without changing its dimensions. Use white label when legibility matters most, such as insurance claims, legal documentation, or property inspection photos. White label adds a clean strip below the image where the text is always easy to read, regardless of the photo background.
The Pixellize tool processes one photo at a time, which is enough for most situations. For batch stamping dozens or hundreds of photos, BatchPhoto (Windows and Mac) can read the capture date from EXIF metadata and stamp it onto every photo in a folder automatically. Fotor also offers batch date stamping for up to 50 images at once in its browser-based tool, though some features require a paid plan.

Founder and CEO of Pixellize.io, building AI-powered web tools and digital products with a focus on user experience and automation. M.Sc. Zoology, working at the intersection of technology, data analytics, and life sciences.