
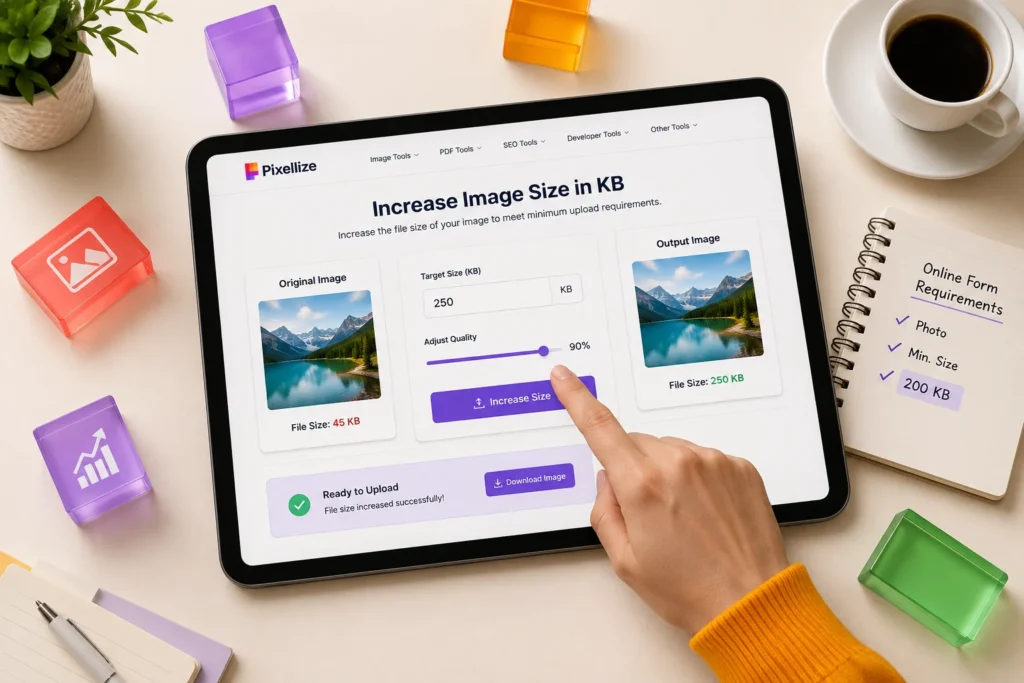
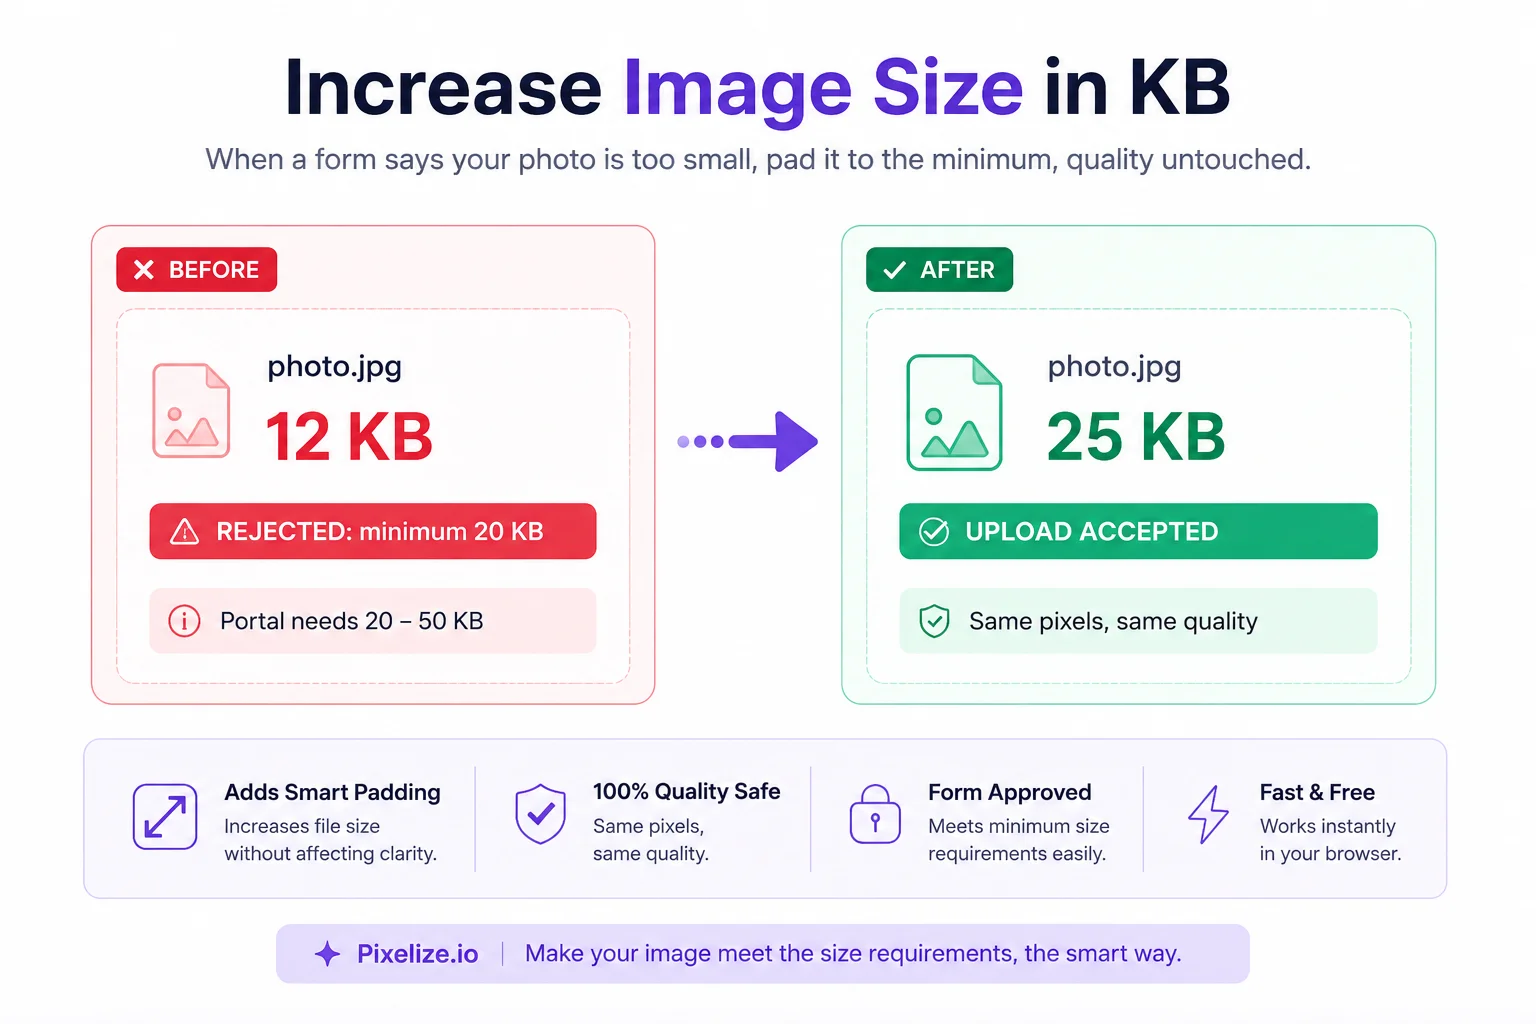
You filled the whole application form, clicked upload on your photo, and the portal threw an error: file size below minimum. Your photo is 12 KB and the form wants at least 20 KB. It feels backwards, every other site wants files smaller, and this one rejects yours for being too light.
The fix takes about thirty seconds. You can increase image size in KB with the free Pixellize image size increaser: type the KB you need, download, and the upload goes through. The same padding step works whether you need to increase a photo size in KB, raise a signature file size, or bump any image file size to a form minimum. This guide shows how it works, why forms enforce minimums, and the exact KB numbers Indian exam portals expect.
| Method | Best for | Quality impact | Time |
|---|---|---|---|
| Pixellize online tool | Exact KB targets for forms | None, pixels untouched | 30 seconds |
| Re-save at 100% quality | JPGs saved at low quality | None visible | 1 minute |
| Paint / Preview re-export | Offline, no browser | None to slight | 2 minutes |
| Photoshop resample | Print work, large bumps | Slight softening | 3 minutes |
Why Do Online Forms Reject Photos Below 20 KB?
Forms reject photos below 20 KB because a minimum file size acts as a quality gate. A passport photo that weighs only 8 or 10 KB has usually been compressed so hard that faces turn blocky, so portals like SSC and IBPS enforce a 20 KB floor to guarantee enough image data for identity verification.
Here’s the thing: the check is automated and blunt. The server never looks at your photo, it looks at one number. A crisp photo at 18 KB gets rejected while a mediocre one at 21 KB sails through. That is annoying, but it also means the fix is mechanical. Get the number over the line and the gate opens.
This caught me off guard the first time I hit it. I had compressed a photo for one portal that wanted files under 50 KB, then reused the same file on a second portal that wanted 20 KB minimum, and it failed there at 14 KB. Same photo, opposite verdicts. Once you know both limits exist, you stop fighting the form and just match the number.
KB and Pixels Are Two Different Numbers
Most rejected uploads come from mixing these up. KB measures file weight, how much storage the photo takes. Pixels measure dimensions, the width and height. A form can demand 200 x 230 pixels AND 20 to 50 KB at the same time, and your photo must pass both checks independently.
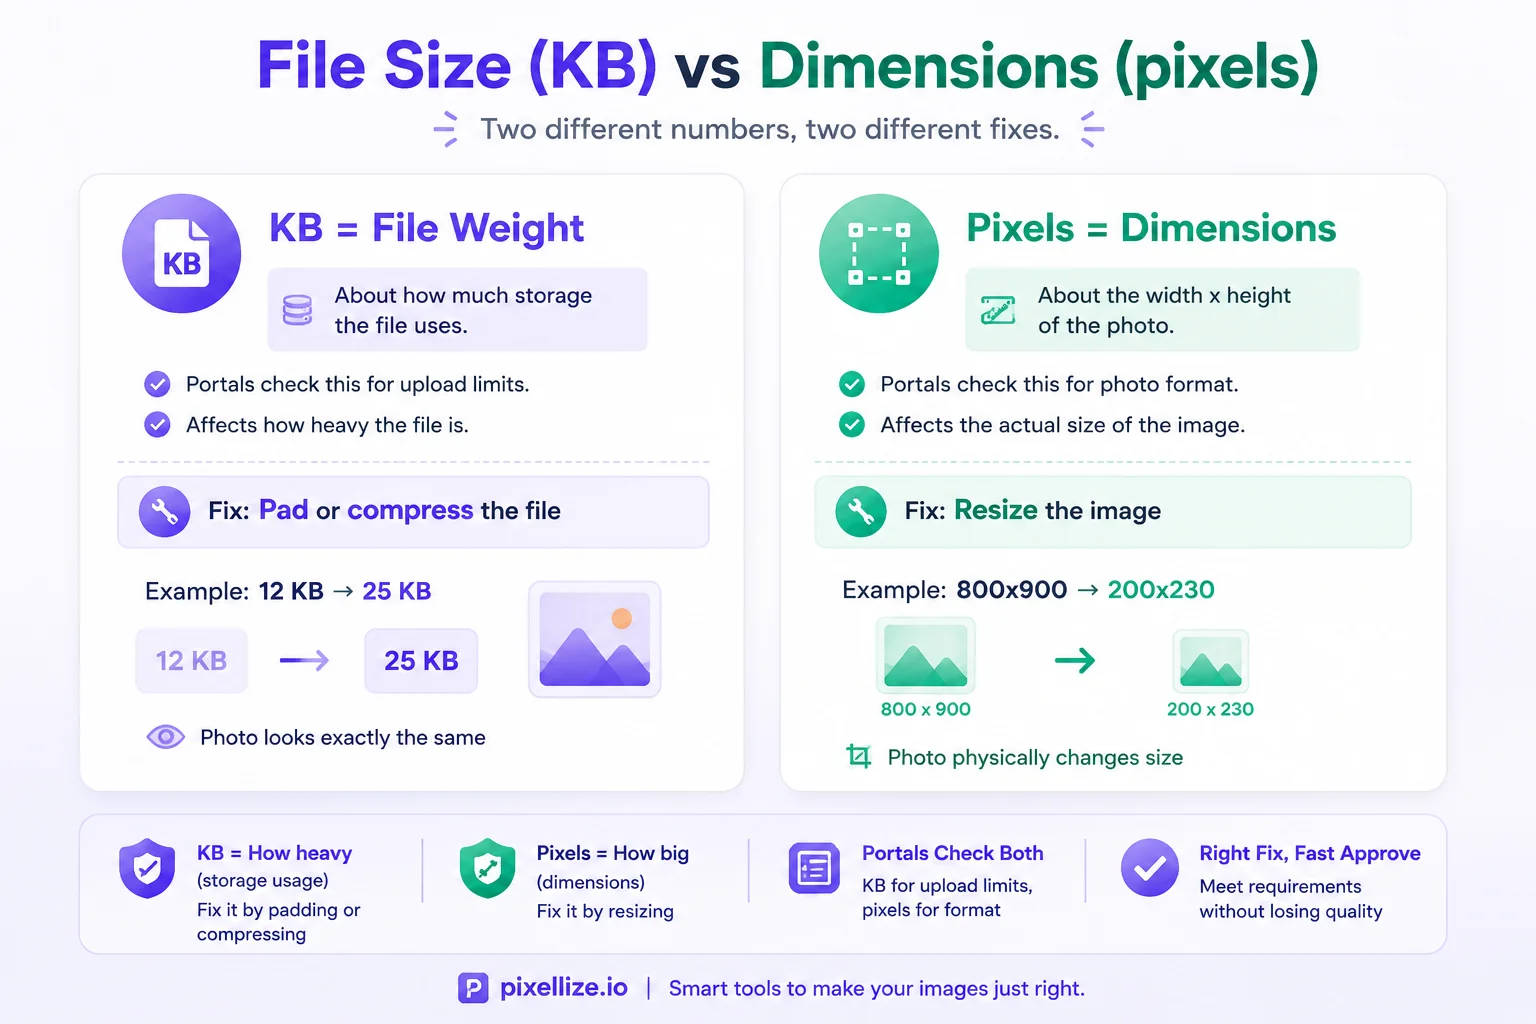
Think of it like a parcel at the post office: pixels are the box dimensions, KB is the weight on the scale. The counter checks both. If your dimensions are wrong, fix them first with the Pixellize image resizer, because resizing changes the KB too. Then adjust the weight last, so the final number sticks.
How to Increase Image Size in KB Online
The fastest way to increase image size in KB is padding: the file gets extra harmless data appended until it reaches your target. Your pixels, colors, and quality do not change at all, because the visible image data is never touched. The Pixellize tool does this in your browser in four steps.
- Open the increase image size in KB tool. Nothing installs, it runs on the page.
- Upload your JPG, PNG, or WebP. The current size shows immediately.
- Type the target, for example 25 for a 20 KB minimum. A small buffer above the floor is safer than landing exactly on it.
- Click the button and download. The file lands at your number, ready for the portal.
One privacy note that matters for this job: the photos you are uploading are passport photos, signatures, and ID scans. Pixellize processes everything client-side, in the browser, so your documents never touch a server. Tools that upload to a server and promise deletion later are asking for trust this job does not require.
KB Limits on Indian Exam and Government Portals
Minimum KB rules show up constantly on Indian portals, and the numbers are strict. SSC asks for photos between 20 and 50 KB and signatures between 10 and 20 KB, and applications with mismatched sizes can be cancelled. Keep your exam notification open and match its numbers exactly.
| Portal / exam | Photo | Signature |
|---|---|---|
| SSC (CGL, CHSL, GD) | 20 – 50 KB | 10 – 20 KB |
| IBPS PO / Clerk, SBI | 20 – 50 KB, 200 x 230 px | 10 – 20 KB, 140 x 60 px |
| UPSC | 20 – 300 KB | 20 – 300 KB |
| Passport Seva | Up to 100 KB | Included in form scan |
Notice the pattern: every range has a floor, not just a ceiling. A 9 KB signature fails the 10 KB minimum just as surely as a 25 KB one fails the maximum. If your file is over the limit instead, the mirror guide on how to reduce image size in KB covers that direction, and the photo and signature merger helps when a portal wants both in one file.
How to Increase Photo Size in KB Without Losing Quality
To increase a photo size in KB, use the same padding method: upload the photo, type the target KB, and download. It raises the file size in KB while the picture stays pixel for pixel identical, which is exactly what an ID or passport photo needs. If a portal in 2026 wants a 20 KB minimum and your photo sits at 12 KB, pad it to 24 or 25 KB and the upload clears. The generic increase file size trick and the increase photo size in KB trick are the same padding step, just different words for the same fix.
Can You Increase Image Size Without Changing Pixels?
Yes, increasing image size in KB without changing pixels is exactly what padding does. The tool appends extra file data after the image content, so the photo keeps its exact width, height, and quality while the file weight rises to the target. A 200 x 230 pixel photo stays 200 x 230 pixels.
The other common technique is re-saving a JPG at 100 percent quality. JPGs saved by phone apps often use 70 to 80 percent quality internally, so re-exporting the same pixels at maximum quality produces a heavier file, sometimes double the KB. Pixellize uses padding because it is exact: you type 25, you get 25, not “somewhere between 18 and 40 depending on the photo”.
Increase Image File Size on Windows and Mac
No browser handy? Both desktop platforms can do a rougher version of the same job. You lose the exact-KB control, but for a one-off form it works.
- Windows (Paint): open the photo, choose File, then Save As, and pick JPEG. Paint re-encodes at a higher internal quality than most phone exports, which usually bumps the KB noticeably.
- Mac (Preview): open the photo, choose File, then Export, set format to JPEG, and drag the quality slider to maximum. The exported copy weighs more than the original.
- Photoshop: use Image, then Image Size with resampling enabled to raise dimensions slightly, or export at quality 12. Adobe documents the mechanics in its image size and resolution guide.
Keep in mind the desktop route is trial and error. You save, check the size, and repeat until you clear the minimum. When the portal wants a precise range like 10 to 20 KB, typing the number into the Pixellize tool is faster than guessing at sliders.
Common Mistakes That Still Get Uploads Rejected
- Fixing KB before pixels. Resizing to 200 x 230 afterwards changes the KB again. Always set dimensions first, file size last.
- Landing exactly on the minimum. A file at 20.0 KB can read as 19.9 KB to a stricter counter. Aim a few KB above the floor, 24 or 25 for a 20 KB minimum.
- Uploading PNG where JPEG is required. Most exam portals validate the format too. Convert first, then adjust the KB, the JPG converter handles that.
- Enlarging pixels to gain KB. Upscaling a small photo adds weight but softens the face, and verification staff reject soft photos. Padding adds weight without touching sharpness.
- Reusing one file across portals. Each exam has its own range. Check the notification every time, the two minutes saves a cancelled application.
Fix the Upload and Move On
A too-small file error looks strange the first time, but the cure is one number. Check the form’s minimum, open the Pixellize tool, and increase image size in KB to a few KB above that floor. Pixels stay put, quality stays put, and the portal accepts the upload. For the opposite problem there is the KB reducer, and for signature-specific limits the signature resizer rounds out the kit. Every one of these Pixellize tools runs in your browser, which is exactly where photos of your own face and signature should stay.
Frequently Asked Questions
How do I increase image size from 10 KB to 20 KB?
Upload the photo to the Pixellize increase image size tool, type a target slightly above 20, like 24, and download. The tool pads the file with harmless data until it reaches your number, so the photo itself stays pixel-for-pixel identical. The whole process takes under a minute in your browser.
Does increasing image size in KB reduce quality?
No. Padding adds data after the image content, so quality, dimensions, and colors stay exactly the same. The only method that can soften a photo is pixel upscaling, which you should avoid for ID photos. Padding is why the increased file looks identical to the original.
Why does the form say my file is too small?
The portal enforces a minimum file size as a quality gate. Very small files usually mean heavy compression and blocky faces, so forms like SSC and IBPS require at least 20 KB for photos and 10 KB for signatures. Your file just needs to weigh more than that floor.
What is the difference between KB and pixels?
KB is file weight, how much storage the image uses. Pixels are dimensions, the width and height. Forms often check both: a photo can pass the 200 x 230 pixel check and still fail the 20 KB minimum. Fix dimensions first, then adjust the KB.
Can I increase image size in KB on my phone?
Yes. The Pixellize tool runs in any mobile browser, Chrome or Safari included. Upload from your gallery, type the target KB, and download. Nothing installs and the photo never leaves your phone, which matters for ID documents.
How many KB should a passport size photo be?
For most Indian portals, 20 to 50 KB. SSC and bank exams sit in that range, UPSC accepts up to 300 KB, and Passport Seva allows up to 100 KB. Always confirm against your specific notification, then pad or compress to land inside the range.
How do I increase the photo size in KB?
Open a padding tool like the Pixellize image size increaser, upload the photo, type the KB you need, and download. It raises the photo size in KB without changing the pixels or quality, so a 12 KB passport photo becomes 24 KB while looking identical. Aim a few KB above the form minimum so it clears the check.
How can I increase a file size in KB?
The quickest way to increase a file size in KB is padding, which appends harmless data until the file reaches your target. For images you can also re-save a JPG at 100 percent quality, which usually raises the file size. Padding is exact: you type the number and the file lands on it, which matters when a form enforces a strict range.
Simranjit Kaur
Founder and CEO of Pixellize.io, building AI-powered web tools and digital products with a focus on user experience and automation. M.Sc. Zoology, working at the intersection of technology, data analytics, and life sciences.