
How to Invert Colors Online (Free, No Photoshop)
How to invert image colors online in seconds, with per-channel control and a live preview. No Photoshop, no install, works on any…
Read articleLearn how to blur a face in a photo free, or pixelate it. Auto-find faces or draw a box, set the strength, and hide one face or a whole group, all in your browser with nothing uploaded.

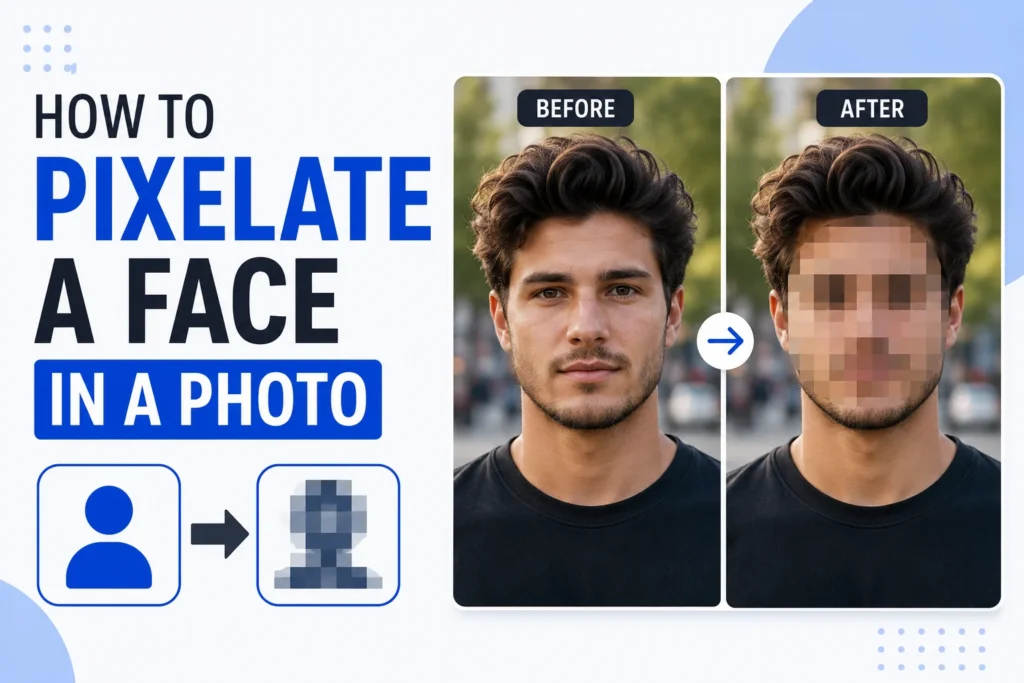
Share a group photo, a rental listing, or a screenshot with a stranger in the background, and you just published someone’s face to the internet. Pixelation fixes that in seconds. It scrambles a face into blocks so nobody can recognize the person, while the rest of the photo stays sharp. This walkthrough shows how to blur a face in a photo, or pixelate it, the quick way in your browser, and how to make the effect strong enough that it actually protects privacy. You can follow along with the free face blur tool from Pixellize, which does both, no install and no upload.
The right method depends on how many photos you have and how much control you want. Here is the quick version.
| Method | Best for | Cost | Multiple faces | Learning curve |
|---|---|---|---|---|
| Browser tool (Pixellize) | Quick edits, privacy | Free | Auto-detect or draw | None |
| Photoshop | Precise, designed edits | Paid | Manual selections | High |
| Phone Photos app | On the go | Free | One at a time | Low |
People pixelate faces to protect identity. A bystander in your vacation shot never agreed to be posted. A child in a school event photo should not be searchable. A witness, a patient, or a source may need to stay anonymous. Pixelation keeps the moment while removing the one detail that identifies a person.
It is also the polite default for anything you share publicly. Under privacy norms in India and most places, posting a recognizable face without consent can cross a line. Blurring or pixelating the face sidesteps the whole problem and takes about ten seconds.
It comes up more than you would guess. Marketplace and rental listings often catch a neighbor or a passerby. Real estate photos pick up the current tenants. A support screenshot might show a colleague’s name and picture. Even a proud event photo can include kids whose parents never agreed to a public post. A quick pixelate keeps the story and drops the risk.
The browser method is the fastest and the most private, because the image never leaves your device. Open the Pixellize pixelate face tool and follow these steps.
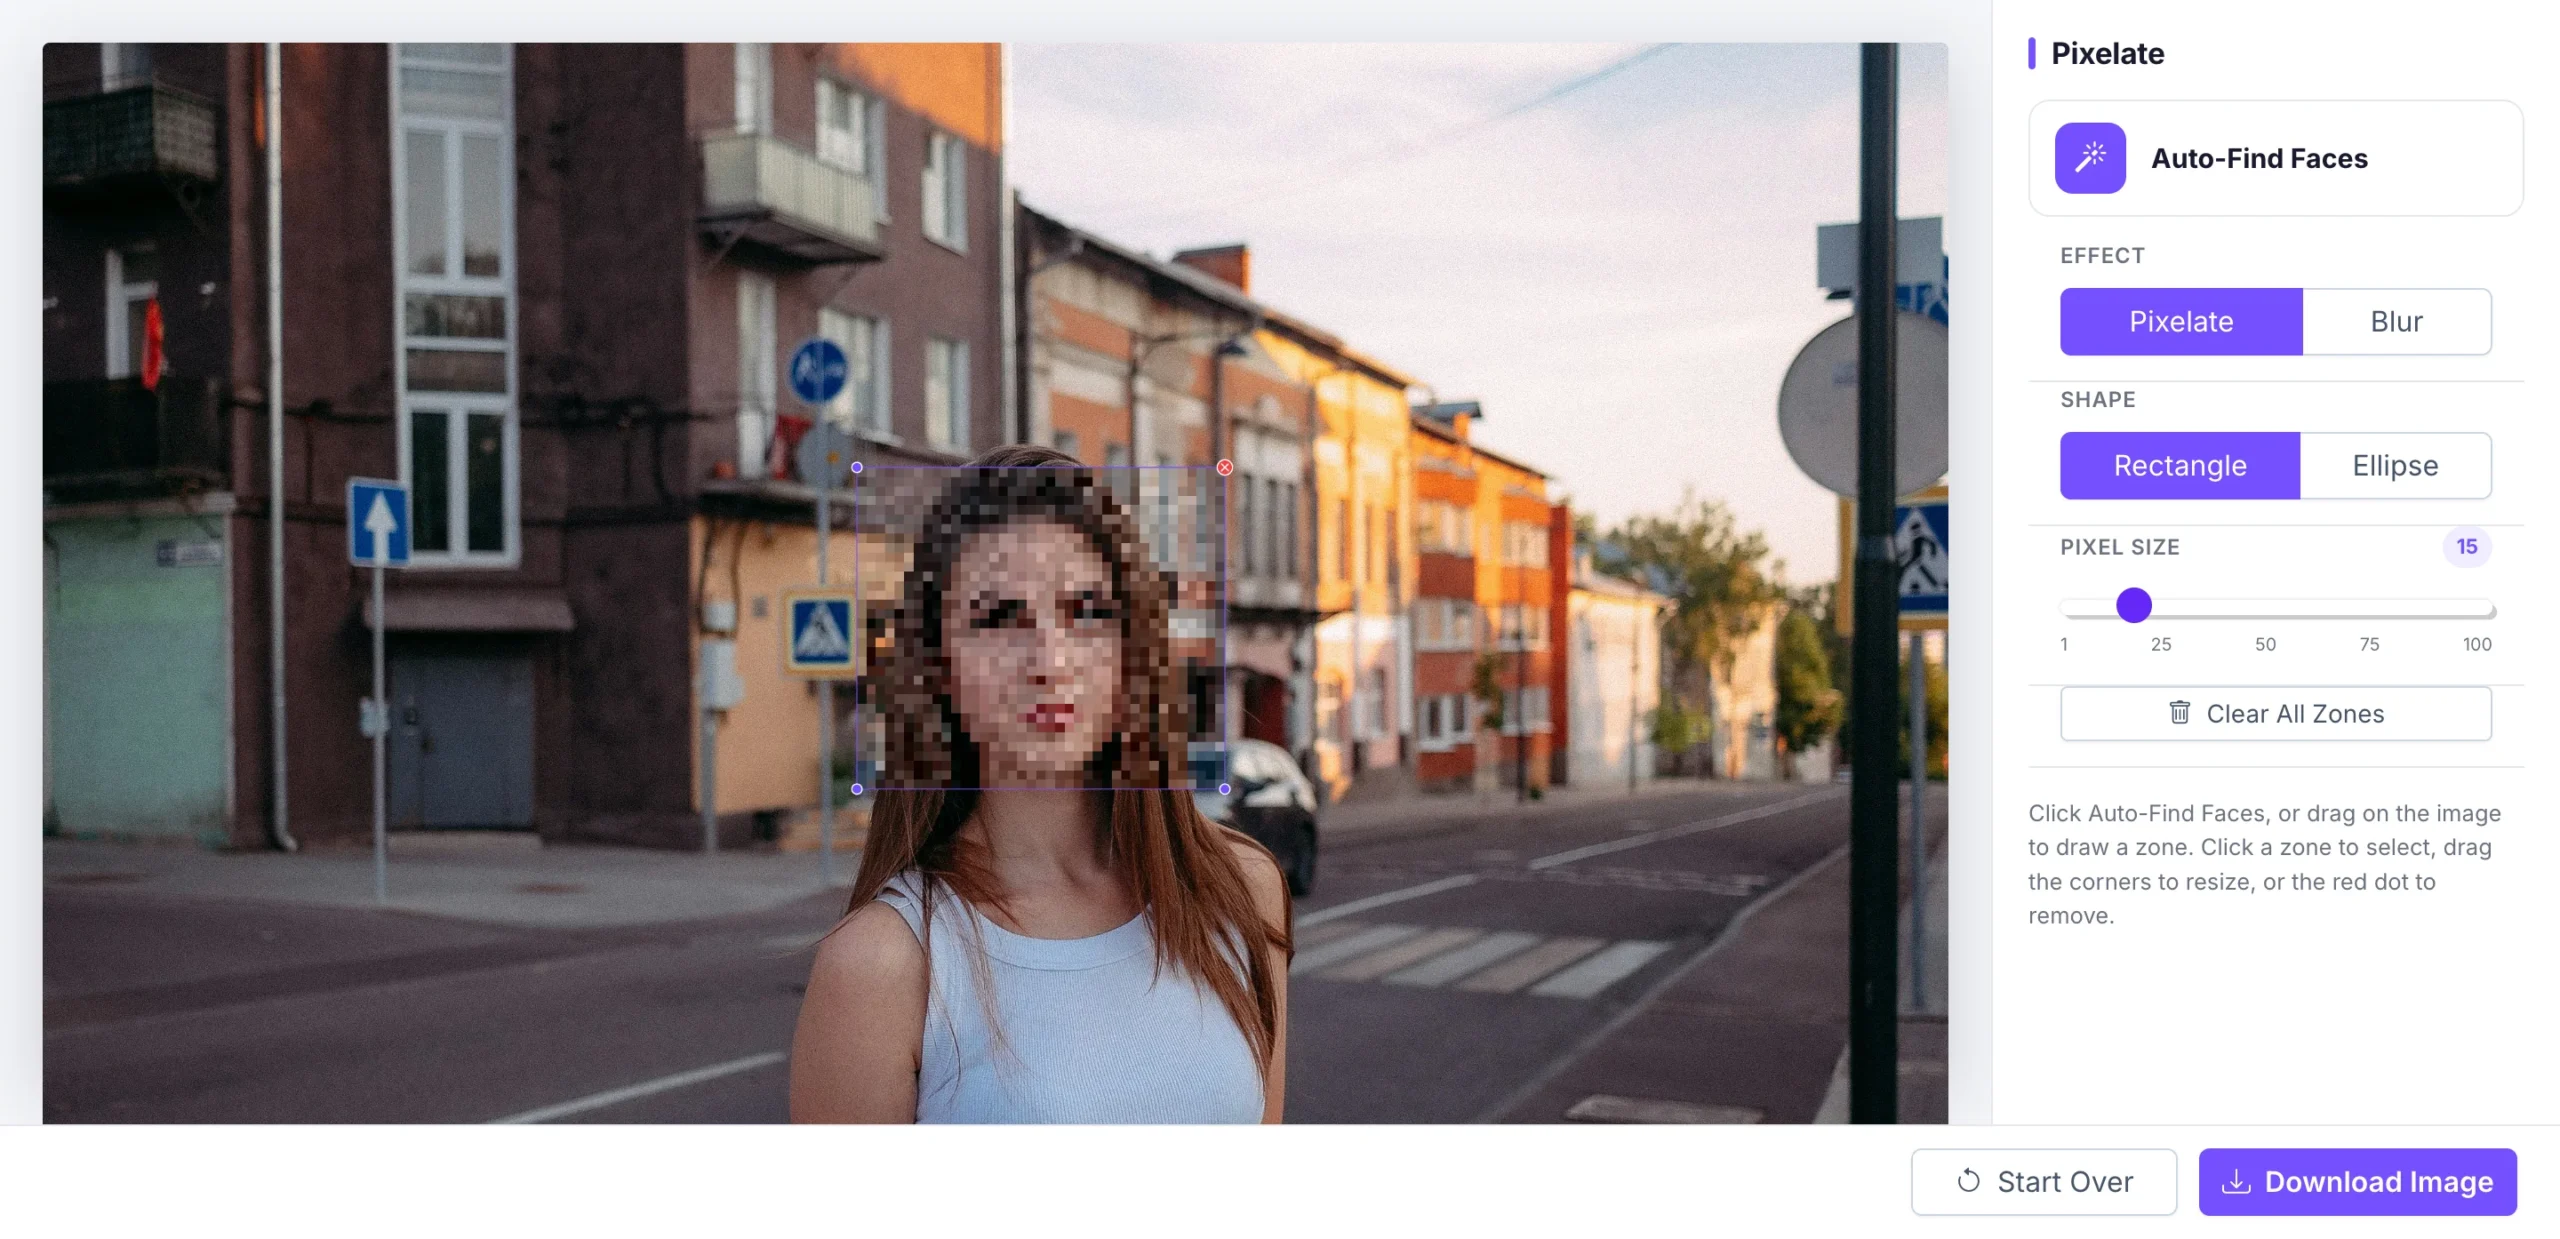
Because Pixellize runs entirely in your browser tab, the photo is never uploaded to a server. That matters when the image is sensitive, which is exactly when you are pixelating a face in the first place.
One more advantage of editing here: you can stack zones. Cover a face, then draw another zone over a name badge, a license plate, or a house number in the same pass. Everything that identifies a person gets the same treatment before you export a single file, and you never wait on an upload.
To blur a face in a photo, open the free Pixellize face blur tool, upload the image, and click Auto-Find Faces to detect them, or drag a box over any face by hand. Choose Blur, set the strength, and download. Everything runs in your browser, so the photo is never uploaded to a server.
Blur is the softer-looking option: it smears the face into an unreadable smudge instead of hard mosaic blocks. Push the strength high enough that no features survive, because a light blur is a real privacy risk, faint edges can sometimes be reconstructed. The tool blurs several faces in one pass too, which is what you want for a group photo or a stranger in the background. Get consent where you can, and when you cannot, a strong blur is the respectful default for anyone who did not agree to be in the shot.
Pixelation hides a face more reliably than a light blur. Blur smears detail but often leaves the overall shape and skin tones readable, and a weak blur can sometimes be partly recovered. A strong pixel mosaic throws away that detail in solid blocks. For real anonymity, use pixelation with a large cell size, or a heavy blur, never a gentle one.
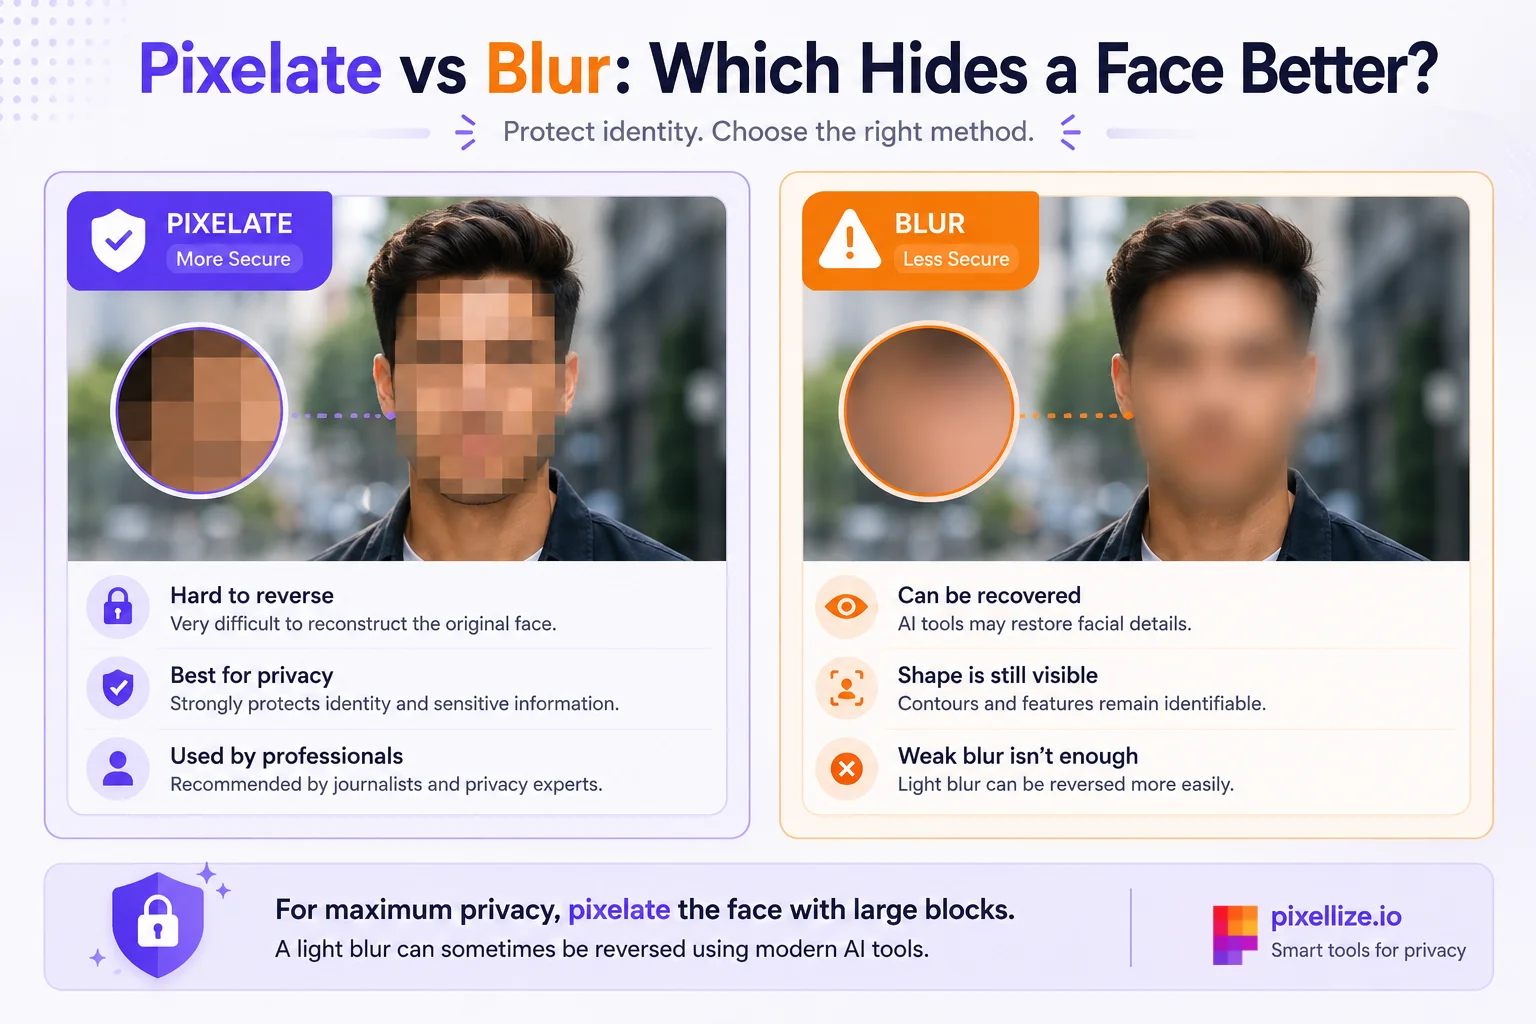
A lightly pixelated face can sometimes be reversed, but a strong one cannot. Weak blur or large-but-few blocks may leak enough detail for software to guess the original. Once the cell size is big enough that each block averages a wide area, the information is gone for good. Turn the strength up and there is nothing to recover.
Here is the thing most guides skip: the pixels are only half the job. A photo also carries hidden data. If privacy is the goal, strip the metadata too, so the file does not quietly reveal a location or a device. The Pixellize remove EXIF data tool clears that in one click after you pixelate.
Strong enough that you cannot tell who it is at full zoom. Set the pixel size so a face becomes roughly six to ten blocks across, no finer. If you can still read the eyes or a distinctive feature, the blocks are too small and the effect is not doing its job.
Zoom in before you download and check every covered face at full size. A good habit is to over-do it a little. A face that is a touch too blocky still reads as a person in the scene, so you lose nothing by erring on the side of privacy.
You do not need an app. The Pixellize pixelate face tool runs in your phone browser, so you can open the page, add a photo from the gallery, drag a zone over the face with your finger, raise the pixel size, and download the result straight to your camera roll. On newer iPhones the Photos app also has a markup and Clean Up option, and Android’s Google Photos includes a blur tool, but both keep the image inside that app’s ecosystem.
If you already own Photoshop, the manual route works well. Select the face with the Lasso tool, then apply Filter, Pixelate, Mosaic and raise the cell size until the face is unreadable. Guides from MakeUseOf and FlexClip walk through it step by step. The catch is time and cost, a subscription plus manual selections for every face, which is overkill when a free browser tool does the same job in seconds.
If a soft blur is the look you actually want, the Pixellize blur face tool gives you that with the same drag-a-zone workflow.
Hiding a face before you share is a small habit that saves real trouble. Detect or draw over the face, switch the strength up until it is unreadable, clear the metadata, and download. That is the whole routine, and it runs free in your browser. Open the Pixellize pixelate face tool, drop in your next photo, and hide the faces before you post it anywhere.
That, in short, is how to blur a face in a photo. Prefer a soft blur over a hard mosaic? You can blur a face online with the same privacy, right in your browser.
Open a free browser tool like Pixellize, upload your photo, and click Auto-Find Faces or drag a box over a face. Choose Pixelate, raise the pixel size until the face is unreadable, and click download. It runs in your browser, so nothing uploads and no sign-up is needed.
Pixelation is safer for real privacy. A strong pixel mosaic throws away detail in solid blocks, while a light blur can leave the face shape readable and is sometimes partly recoverable. Use pixelation with a large cell size, or a heavy blur, for anything sensitive.
A weak effect can sometimes be reversed, but a strong one cannot. If the pixel blocks are large enough that each one averages a wide area of the face, the original detail is gone and there is nothing left to recover. Turn the strength up to be safe.
Open the Pixellize pixelate face tool in your mobile browser, add a photo from the gallery, drag a zone over the face with your finger, raise the pixel size, and download to your camera roll. No app install is required, and the photo stays on your phone.
No. Pixelation only changes the visible pixels. The file can still carry hidden metadata like GPS location and device details. After you pixelate, clear that data with an EXIF remover so the photo does not leak information you meant to hide.
Use auto-detection, which finds and covers every face in one pass, even in a crowded group photo. You can also draw a separate zone over each face by hand, adjust each one, and then download the image with all of them protected.
Open the free Pixellize face blur tool, upload your photo, and click Auto-Find Faces or drag a box over the face. Choose Blur, raise the strength, and download. It works in your browser with no signup and nothing uploaded to a server.
Yes. Auto-Find Faces detects every face in the photo in one pass, and you can also draw a box over any it misses. That makes it quick to hide a whole group or every stranger in the background of a single image.
A strong blur or pixelation is not reversible in practice, because the original pixels are gone. A light blur is a risk, since faint edges can sometimes be reconstructed, so push the strength high enough that no features remain before you share the photo.
Founder and CEO of Pixellize.io, building AI-powered web tools and digital products with a focus on user experience and automation. M.Sc. Zoology, working at the intersection of technology, data analytics, and life sciences.