
How to Compress PDF Without Losing Quality, Step by Step
Shrink any PDF without making it blurry. Plain-language guide to lossy vs lossless, the right quality setting for every use case, and…
Read article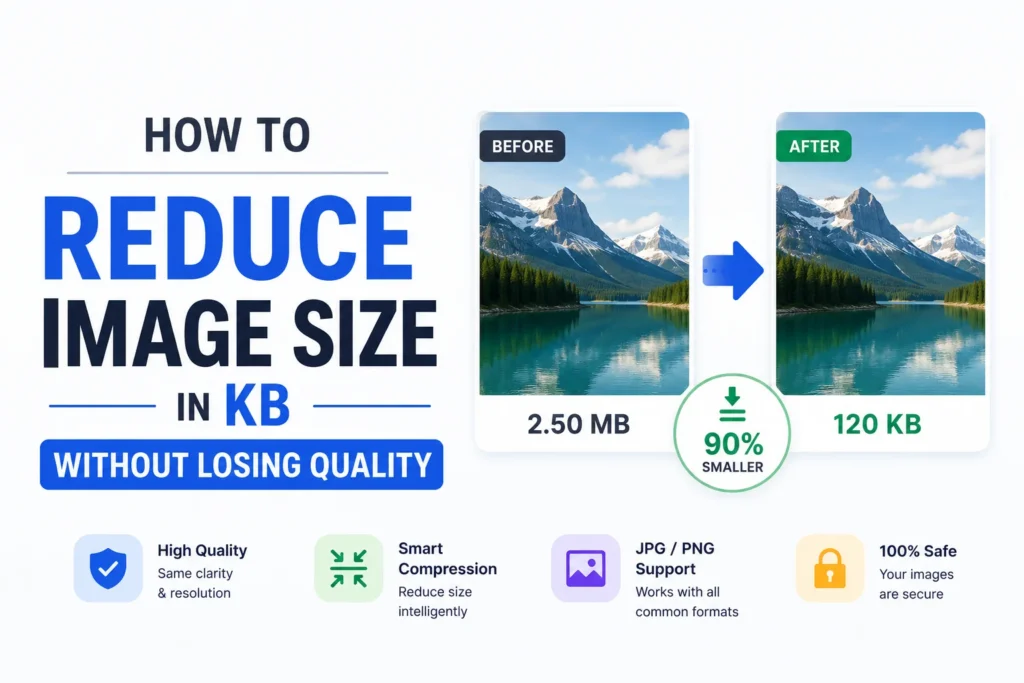
A government form rejects your photo because it must be under 50 KB. Your camera just handed you a 4 MB file. That gap is the whole problem, and it is why so many people search for how to reduce image size in KB without losing quality. The good news: you can shrink a photo from a few megabytes to a few kilobytes and still keep it sharp, as long as you pull the right two levers. This guide walks through five free ways to do it, including a browser tool from Pixellize that hits an exact KB target for you.
File size and image dimensions are two different things, and mixing them up is where most people go wrong. Dimensions are the pixel width and height, like 4000 by 3000. File size is how many kilobytes those pixels take up on disk, and it depends on the format and the compression level.
You have two levers. First, resize the dimensions down, since fewer pixels means fewer bytes. Second, compress harder, which lowers the quality setting so each pixel is stored with less data. To reduce image size in KB you usually use both. A 12-megapixel photo squeezed to 1200 pixels wide is already a fraction of the original before you compress a single step further.
To reduce image size in KB without losing visible quality, first resize the photo to the dimensions you actually need, usually 1200 to 1600 pixels on the long side, then compress it as a JPEG at 70 to 80 percent quality. That combination typically lands a normal photo between 50 KB and 150 KB with no loss you can see at normal viewing size.
Here is the honest part. “Without losing quality” is a bit of a myth at very small targets. Above roughly 100 KB you will not spot the difference. Below 20 KB, fine detail softens no matter which tool you use. The table below, based on Pixellize testing, shows what to expect at each target so you can pick a size you are happy with.
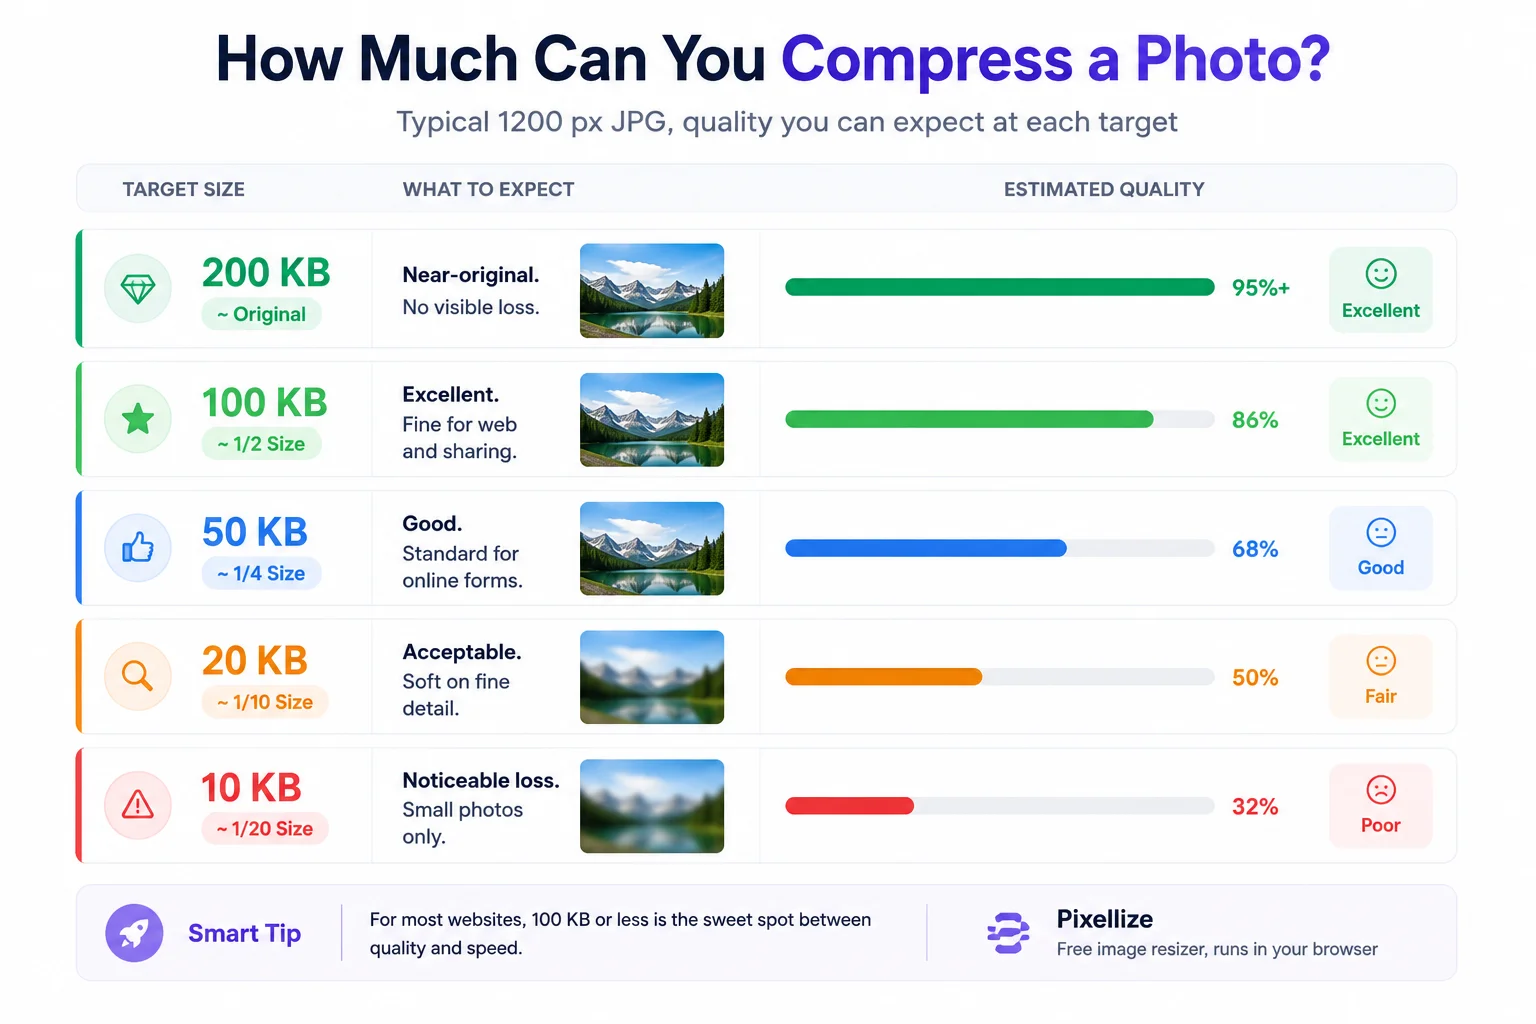
| Target size | Quality you keep | Best for |
|---|---|---|
| Under 1 MB | Full | Printing, archiving |
| 100 to 200 KB | Excellent | Websites, blog images |
| 50 KB | Good | Online forms, email |
| 20 KB | Acceptable | Passport Seva, exam portals |
| 10 KB | Noticeable loss | Tiny thumbnails only |
The fastest route is a tool that lets you type the exact number of kilobytes you want. Open the Pixellize image resizer, drop in your photo, turn on Optimize File Size, and enter your target, say 50 KB. The tool tunes the JPEG quality, shrinks the dimensions if it has to, and hands back a file at exactly that size. Nothing is uploaded to a server, so the photo stays on your device.
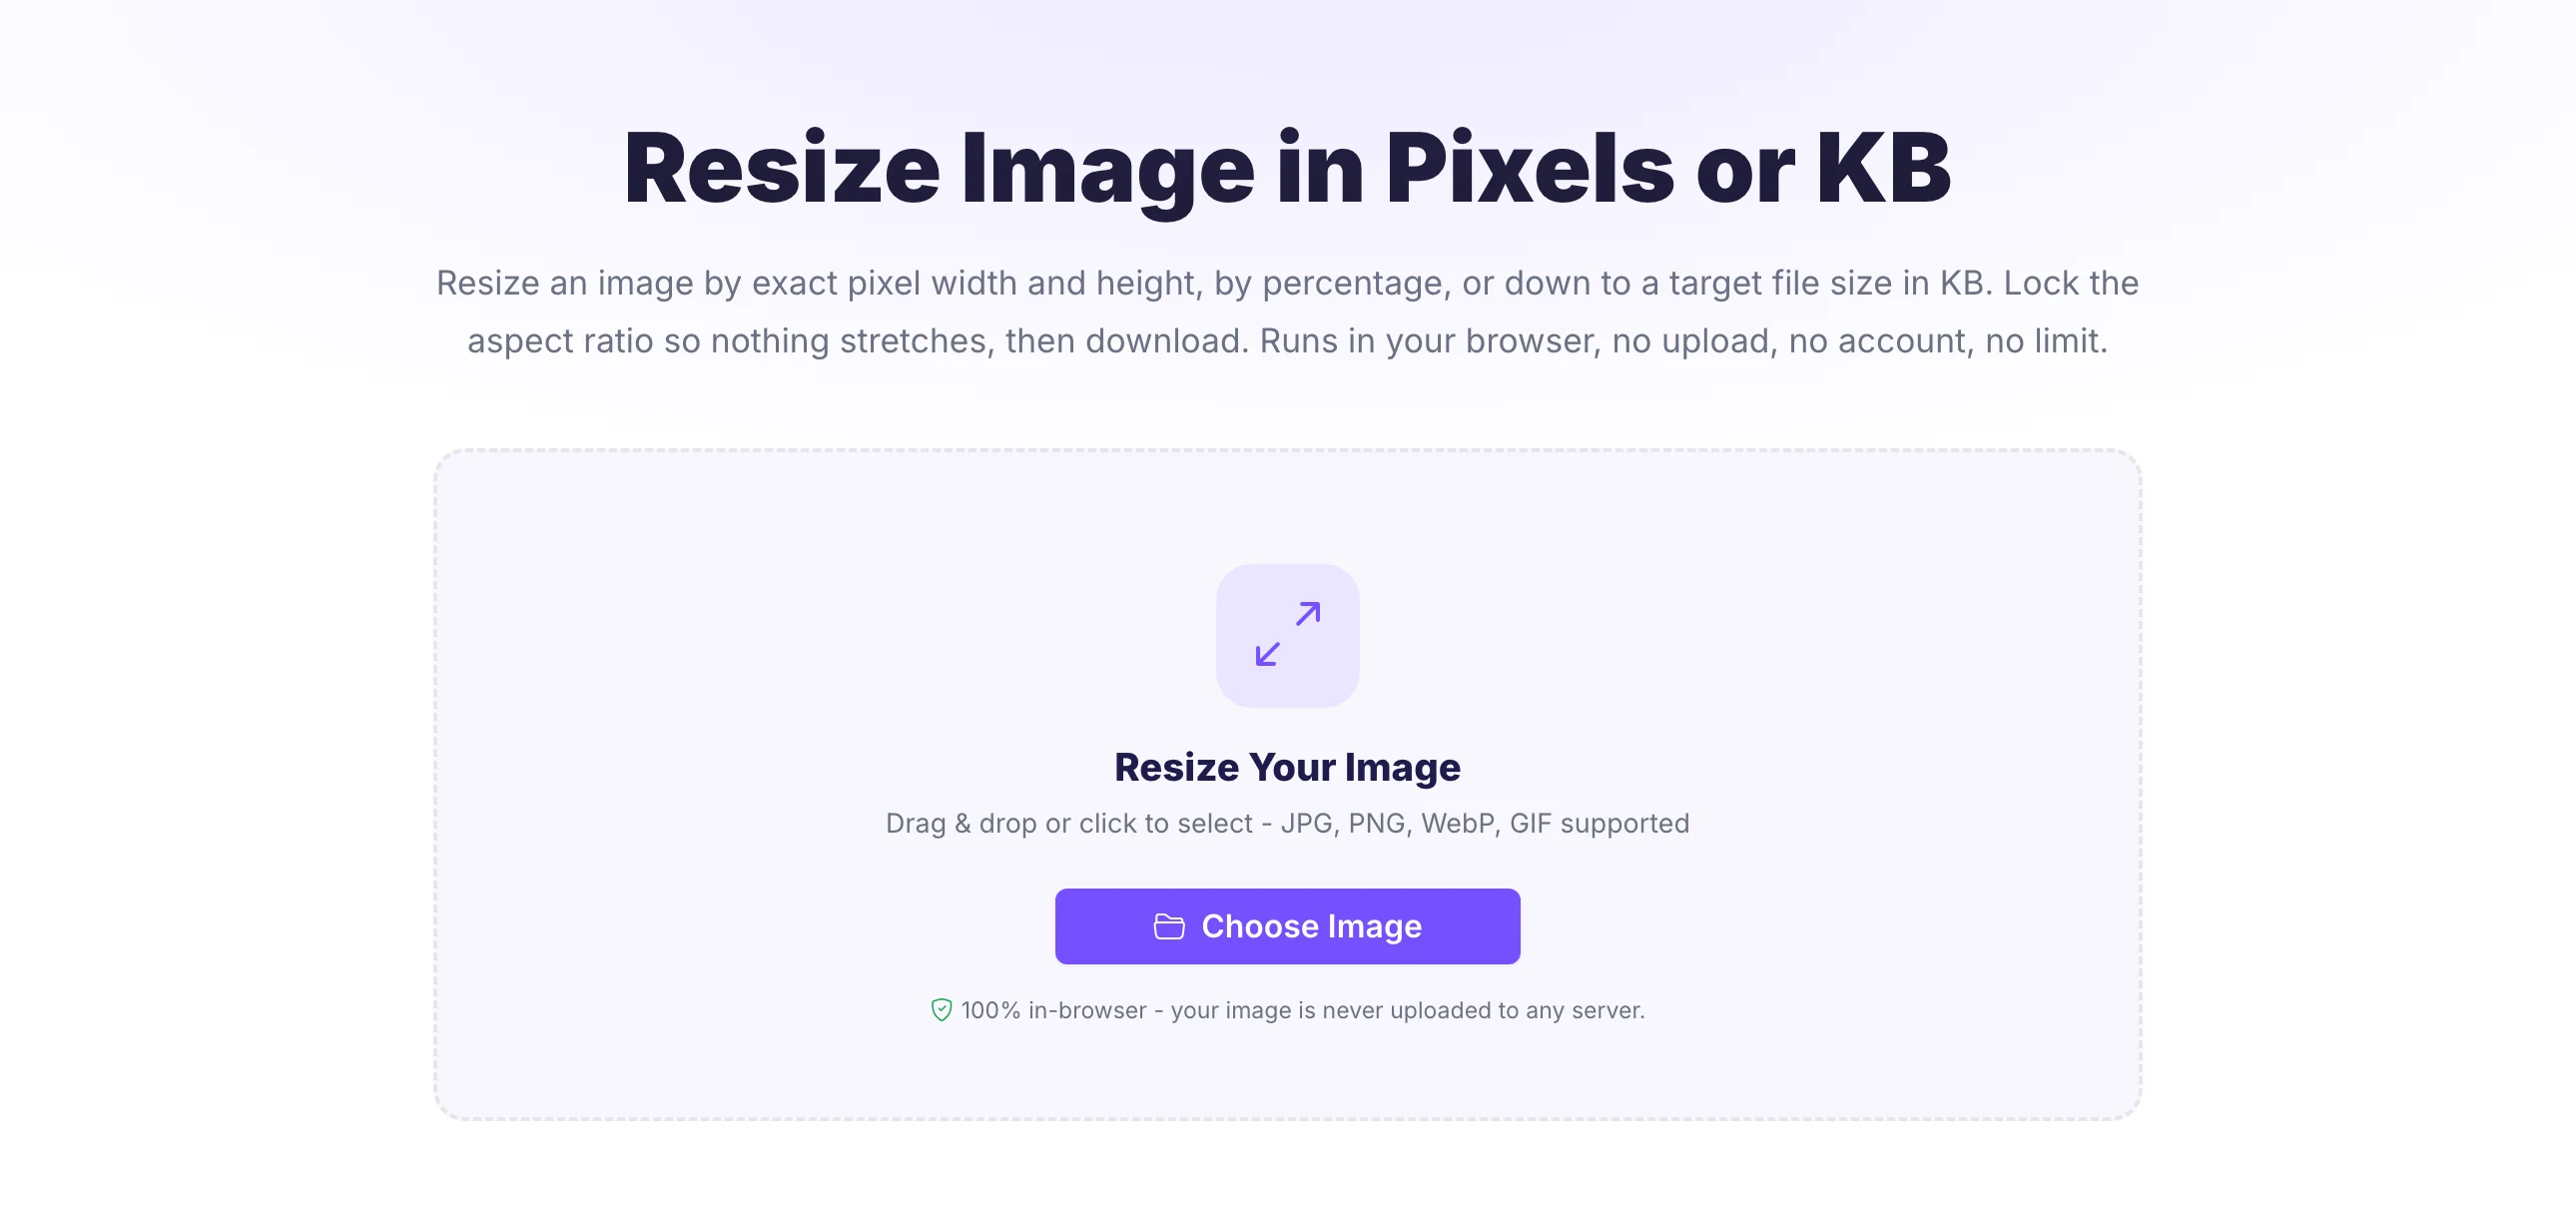
This matters when a portal is strict. Many exam and visa sites reject anything one kilobyte over the limit, so a tool that hits the number exactly saves the trial and error you get with a quality slider.
If your photo is huge, the single biggest saving comes from resizing before you compress. A 4000 pixel wide image has more than ten times the pixels of a 1200 pixel one. Drop the width first and the file is already tiny before compression even starts.
This two-step order is why some people get a blurry mess and others do not. Compressing a giant image to 20 KB forces brutal quality loss. Resizing first means the compressor has far less to throw away.
Format is a hidden lever. PNG is lossless, which keeps every pixel perfect but makes photos large. JPG was built for photographs and produces far smaller files at the same visual quality. If your source is a PNG photo, converting it to JPG often cuts the size by half or more before you compress anything.
Keep PNG only when you need transparency or you are saving a logo, screenshot, or line art with sharp edges. For a normal photo headed to a form or a website, JPG almost always wins on kilobytes. If you want the full breakdown, see the Pixellize guide on the best image format for the web.
No internet? Both major desktop systems can shrink a photo without extra software. On a Mac, open the image in Preview, choose Tools then Adjust Size to lower the dimensions, then File then Export and drag the Quality slider down while watching the estimated file size. On Windows, open the photo in the Photos app, use Resize, and pick a smaller preset or define a custom size.
Desktop tools are handy but blunt. They rarely let you hit an exact KB number, so you end up nudging the slider and re-exporting. That trial and error is exactly what a target-size tool like Pixellize removes.
To compress a photo to 20 KB or 50 KB for a form, first crop it to the exact pixels the portal asks for, often around 200 by 230 px for a passport photo, then set that KB value as your target. Small dimensions plus a fixed KB target is the only reliable way to satisfy strict portals like Passport Seva or exam boards.
This is the single most common reason people in India reduce image size in KB. Passport applications, PAN cards, and exam forms such as SSC and UPSC all cap the photo and signature at tight limits. For the full list of required sizes, our guide on photo size for Indian government forms covers the exact pixels and KB each portal wants. When you already know the physical size, the 3.5×4.5 cm passport tool sets the dimensions and the KB in one pass.
If you only remember one thing: resize the dimensions to what you need, save as JPG, and set an exact KB target. That order keeps the photo sharp while the file shrinks. Pixellize built its resizer around exactly this workflow. For a normal web image, aim for 100 to 200 KB. For a strict form, match the portal’s pixels and KB exactly. The free Pixellize resizer does both in the browser with nothing uploaded, so you can reduce image size in KB in a few seconds and get back to what you were doing.
Got the opposite problem, a file that is too small? Here is how to increase image size in KB to hit a form minimum.
Resize the photo to the dimensions you need, save it as a JPG, then compress to your target. Above 100 KB the loss is invisible. Using a tool that hits an exact KB avoids the trial and error of a quality slider.
Open the image in a resizer, set the width to what you actually need, then enter 50 KB as the target file size. The tool lowers the JPEG quality until the file fits, and shrinks the dimensions further only if it has to.
It can, but not always visibly. Down to about 100 KB a normal photo looks identical. Below 20 KB fine detail starts to soften. The trick is resizing the dimensions first so the compressor has less to discard.
JPG for photographs, because it was designed for them and produces the smallest files at good quality. Keep PNG only for logos, screenshots, or images that need transparency, since PNG files are much larger for photos.
Crop it to the pixels the portal requires, often near 200 by 230 for a passport photo, then set 20 KB as the target. Matching both the dimensions and the KB is the only reliable way to pass strict upload checks.
Yes. Browser tools like the Pixellize resizer process the photo on your own device using your browser, so the file is never sent to a server. That keeps ID photos and personal images private.

Founder and CEO of Pixellize.io, building AI-powered web tools and digital products with a focus on user experience and automation. M.Sc. Zoology, working at the intersection of technology, data analytics, and life sciences.