
How to Add Name and Date on a Photo (Free, Online)
How to add date and time to photos free online. Custom font, color, and position. Overlay or white label layout. Works on…
Read articleA plain, three-step guide to resizing any image to an exact width and height in pixels, free and in your browser.

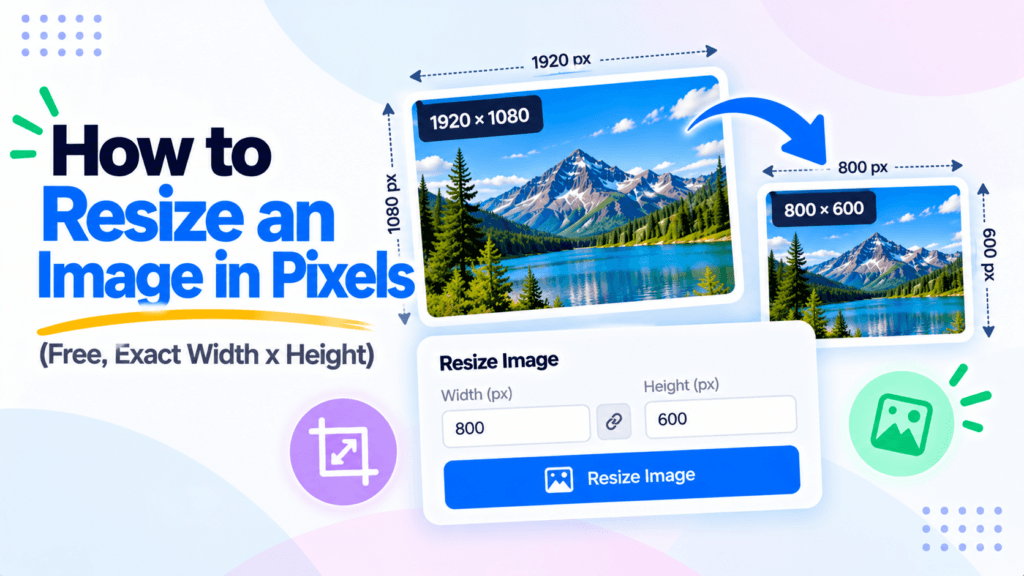
You export a photo, drag it into a form, and the page throws it back: image must be 1080 by 1080 pixels. That is a pixel-size rule, and knowing how to resize an image in pixels clears it in under a minute. Pixels are the width and height of an image, counted as dots across and down, and most upload slots, social posts, and profile photos demand an exact pair. This guide covers resizing to an exact width and height with the free Pixellize image resizer, when to keep the shape locked, and the sizes worth memorizing.
Resizing an image in pixels changes its dimensions, the width and height measured in pixels, such as 1920 by 1080. That is different from resizing in KB, which changes the file size on disk. A 4000 by 3000 photo resized to 1080 by 810 holds far fewer pixels, and the file shrinks as a side effect.
Think of pixels as the physical size of the picture and KB as how much space it takes up. They move together but they are not the same control. Shrink the pixels and the KB usually drops too, yet you can also cut KB without touching the pixel dimensions at all. Most “image too large” errors on forms are really pixel rules, so that is where to start with Pixellize.
The whole process takes three moves in the Pixellize resizer. No install, no account.
Step 1: Upload the image. Open the resizer and drag your file in, or click Choose Image. The current width and height load on their own, so you can see exactly what you are starting from before you change anything.

Step 2: Type the new width and height in pixels. Enter the exact size you need, for example 1080 by 720. With Lock Aspect Ratio on, type one side and the other fills in for you, and the New Size badge shows the result before you commit.
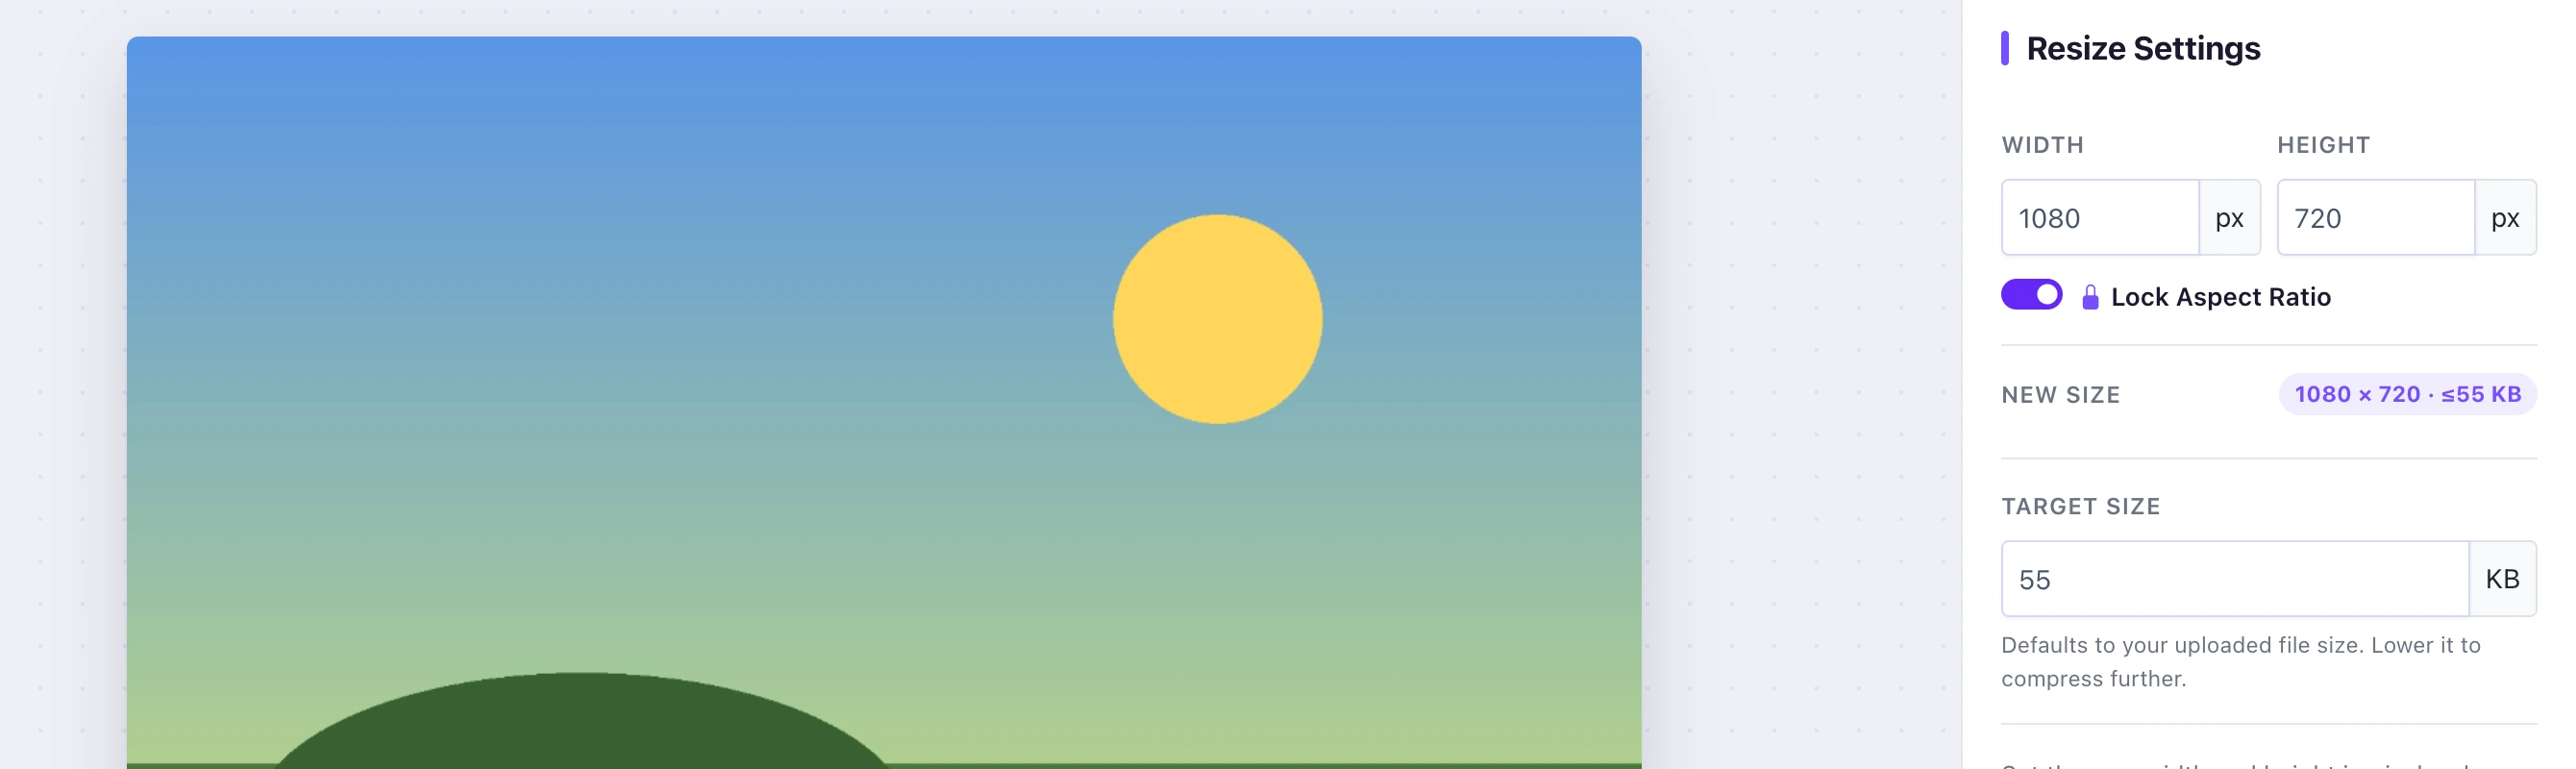
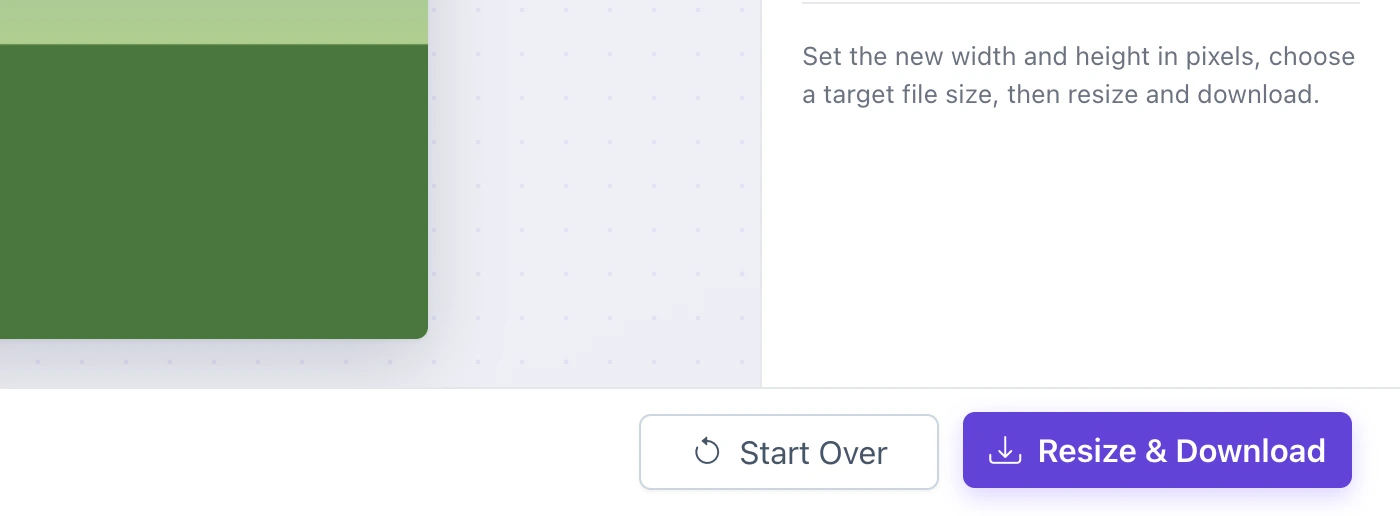
Step 3: Resize and download. Click Resize and Download to save the file at the new dimensions. Nothing leaves your device, the work runs in the browser. In our own test, a 1600 by 1067 photo came straight out as a 1080 by 720 JPG, the exact size we typed.
Here is the thing that trips people up the first time. A government portal once rejected my 2.4 MB passport photo three times before I realized it wanted 413 by 531 pixels, not a smaller file. The moment I set the pixel dimensions instead of guessing at KB, it went through.
Keep the aspect ratio locked for almost every photo, so the width and height shrink together and nothing stretches. Unlock it only when a slot demands an exact width and height that your image does not match, and crop the picture to that shape first so faces and logos do not squash.
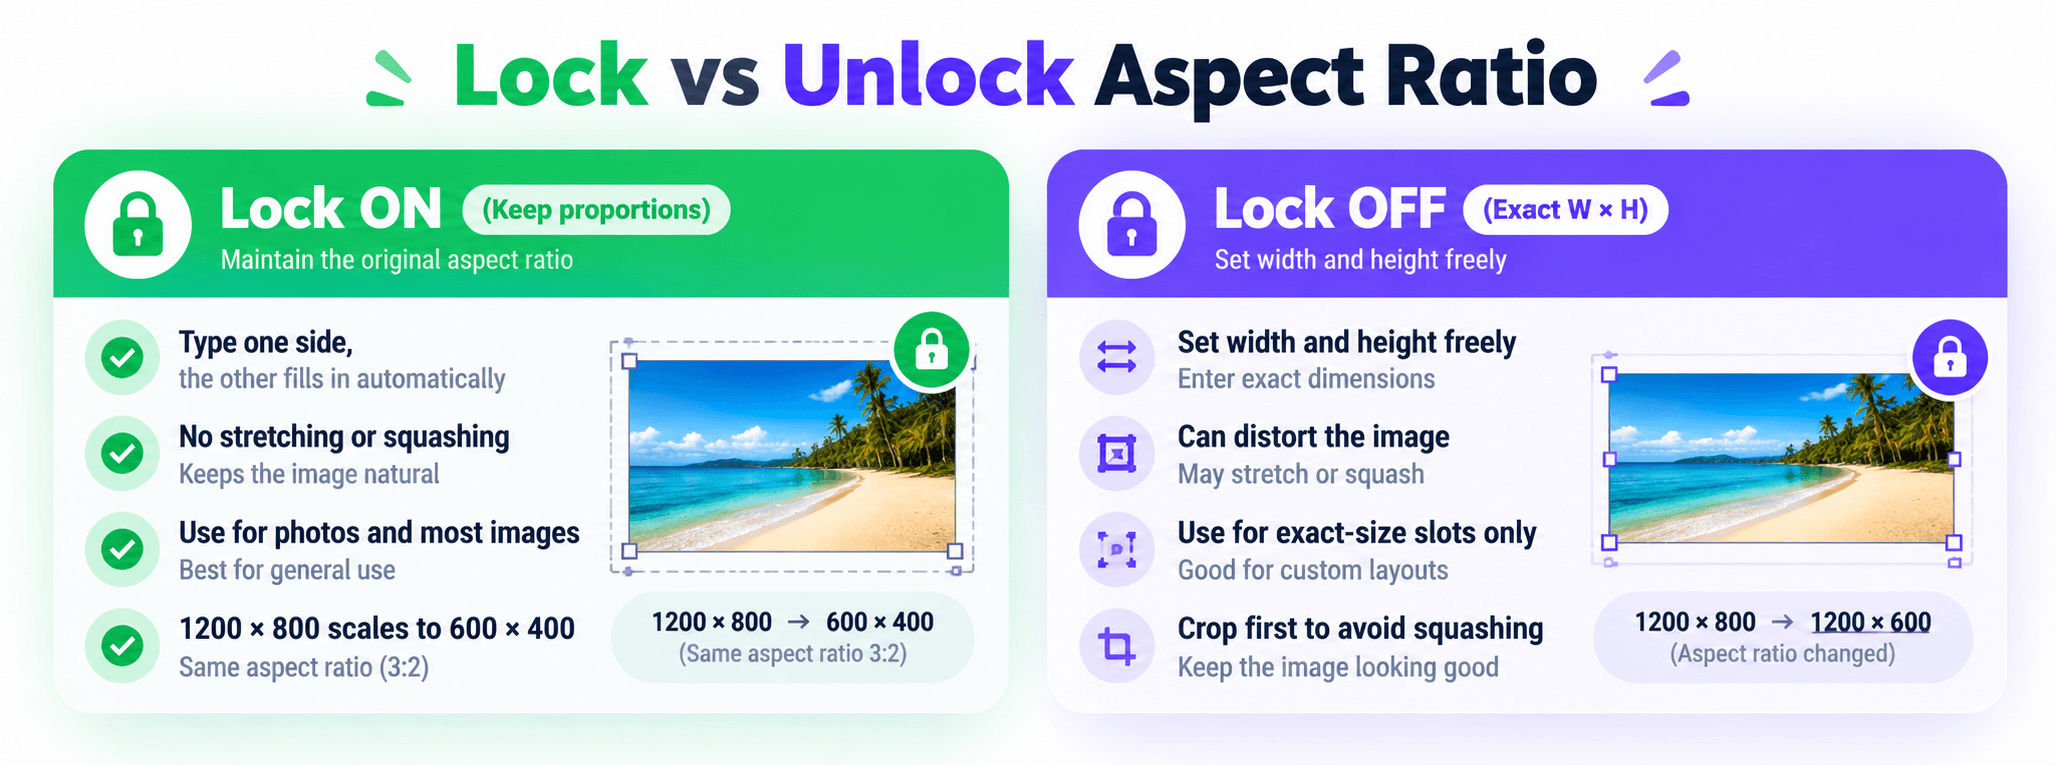
A simple rule saves most headaches: lock the ratio, then resize to whichever side matters, width for a banner, height for a feed. If the target shape differs from your image, crop to the right ratio before you type the pixels. That way you never ask the resizer to stretch.
Most pixel targets come from a handful of platforms. Keep this table handy, since a wrong size is the usual reason a post looks blurry or gets cropped. YouTube, for instance, documents 1280 by 720 as its ideal thumbnail resolution (retrieved October 2026).
| Use case | Pixel size (W x H) | Shape |
|---|---|---|
| Instagram square post | 1080 x 1080 | 1:1 |
| Instagram story or reel | 1080 x 1920 | 9:16 |
| YouTube thumbnail | 1280 x 720 | 16:9 |
| Full HD (1080p) | 1920 x 1080 | 16:9 |
| Facebook cover | 820 x 312 | ~2.6:1 |
| X (Twitter) header | 1500 x 500 | 3:1 |
| Passport-style photo | 413 x 531 | 3.5 x 4.5 cm |
Downscaling throws pixels away and almost always looks clean. Upscaling invents pixels that were never captured, so edges soften and fine detail does not come back. The direction you resize matters more than the tool you use.
Run the numbers and it is obvious why. A 4000 by 3000 photo is 12 megapixels. Shrink it to 1080 by 810 and you keep about 0.9 megapixels, roughly 7 percent of the originals, with no visible loss. Go the other way, from 500 by 500 up to 2000 by 2000, and the resizer has to guess 93 percent of the new pixels. That guessing is why enlarged images look soft. If you must upscale, start from the largest original you have, never a thumbnail. The underlying method, interpolation, is covered well in the Wikipedia article on image scaling (retrieved October 2026).
No. Pixels are the fixed number of dots in the image, like 1080 by 1080. DPI, or dots per inch, only matters for printing, where it sets how large those pixels spread on paper. For anything on a screen, pixels decide the size and DPI is ignored.
This trips up people prepping photos for both web and print. A 1200 by 1800 image is the same file whether it is tagged 72 DPI or 300 DPI, since the DPI number just tells a printer how tightly to pack the pixels. Online forms, social platforms, and websites read pixel dimensions only. Set the pixels in Pixellize now, and adjust DPI later in a print tool if a lab asks for it. That keeps the two settings from fighting each other.
Pick the format by the kind of image. JPG suits photos and keeps files small. PNG is for logos, screenshots, and anything that needs a transparent background, though it runs larger. WebP gives you the smallest file of the three at similar quality and is supported everywhere that matters in 2026. The Pixellize resizer exports all three, so you can match the format to the slot after you set the pixels. A quick rule: photos go to JPG or WebP, while graphics with flat color or transparency go to PNG. If a site accepts WebP, it is usually the safest pick for the smallest file at the same dimensions.
To resize many images at once, use a batch resizer that applies the same width and height to every file in one pass. The free Pixellize bulk image resizer takes a whole set of photos together, which beats resizing each one by hand when a store catalog or a photo gallery all needs the same size. For ready-made platform presets, the social media image resizer fills in the exact pixel dimensions for you, so you skip the lookup table entirely. Batch resizing also keeps a whole set consistent, which matters when mismatched sizes make a gallery or product grid look uneven.
This is the distinction that sends people to the wrong tool. Resizing in pixels changes how big the image is on screen. Compressing in KB changes how much space the file takes, usually without changing the dimensions. A form that says “max 1920 pixels wide” wants a pixel resize. A form that says “max 200 KB” wants compression.
If your target is a file-size limit, the companion guides cover it directly: how to reduce image size in KB and how to increase image size in KB. The Pixellize resizer can do both in one place, so set the pixels first, then a target KB if the form needs one.
Even once you know how to resize in pixels, a few traps keep showing up.
Set any width and height, keep the ratio locked, and download in seconds. No upload, no account.
Open the Pixellize image resizerLearning how to resize an image in pixels comes down to three moves: upload, type the width and height, download. Keep the ratio locked, downscale rather than upscale, and lean on the common sizes above. When a form or a platform hands you an exact pixel spec, the Pixellize image resizer gets you there free and without an upload.
Upload the image to a pixel resizer, type the exact width and height you need, and download. In the Pixellize image resizer the current size fills in on upload, so you just change the numbers. Keep Lock Aspect Ratio on so the image does not stretch.
Open the resizer, turn Lock Aspect Ratio off if the image is not already square, and set both width and height to 1080. If the photo is rectangular, crop it to a square first so nothing squashes, then resize to 1080 by 1080 and download.
Usually yes. Fewer pixels means less data, so shrinking the dimensions lowers the KB as a side effect. If you need a specific KB limit rather than a pixel size, compress the file instead, which changes the KB without changing the width and height.
Downscale rather than upscale, and keep the aspect ratio locked. Shrinking an image to fewer pixels looks clean because you are removing data, not inventing it. Enlarging past the original size is where softness creeps in, so start from the largest file you have.
Only within limits. Enlarging adds pixels the camera never captured, so some softness is unavoidable. Start from the highest-resolution original, upscale modestly, and sharpen afterward. For big jumps, a dedicated AI upscaler does better than a plain pixel resize.
With the Pixellize resizer, yes. The resizing runs entirely in your browser, so the image is never uploaded to a server. There is no account, no email, and no limit on how many images you resize.
Founder and CEO of Pixellize.io, building AI-powered web tools and digital products with a focus on user experience and automation. M.Sc. Zoology, working at the intersection of technology, data analytics, and life sciences.