Your title tag and meta description are the two pieces of text Google shows in the search result before anyone clicks. Get them right and your click-through rate goes up without changing a single ranking. Get them wrong and you lose traffic you already earned.
This guide covers how to check the title and meta description of any webpage, in five practical methods (from a one-paste tool to a JavaScript console one-liner), plus the six most common mistakes a quick audit catches first.
What are title tags and meta descriptions, and why do they matter?
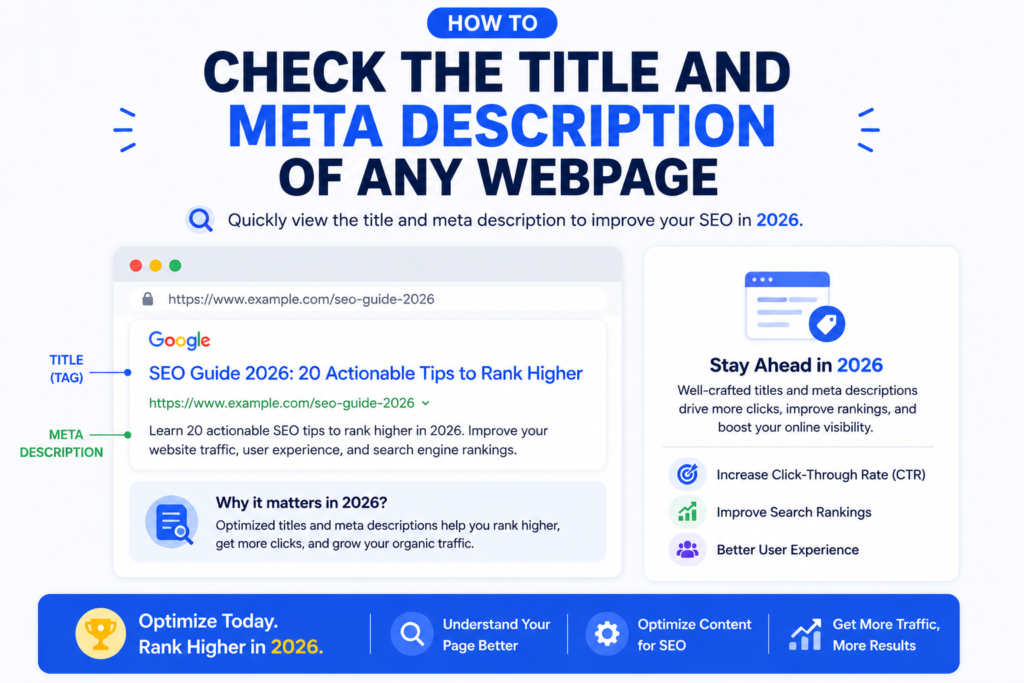
A title tag is the HTML element <title>Your Page Title</title> in the head of every page. Google reads it as the strongest topical signal on the page and shows it as the clickable blue heading in the search result.
A meta description is the HTML element <meta name="description" content="Short summary">. Google does not use it as a direct ranking signal, but it is the gray snippet under the title in search results. A clear description with a call to action lifts click-through rate even when your rank does not move.
Three audiences depend on them. Google uses the title as a topical signal AND as the SERP heading. Social platforms (Twitter/X, LinkedIn, Facebook) fall back to the title and description when og:title or og:description are missing. AI search engines (Google AI Overviews, Perplexity, ChatGPT browsing) parse them to decide which pages to cite.
Length matters: characters vs pixels
Google does not measure your title in characters. It measures in pixels. A title full of wide letters like W or M cuts off sooner than a title with narrow letters like i or l. The pixel limits as of 2026:
- Title: roughly 600 pixels on desktop, which equates to 50 to 60 characters as a safe average. Mobile is similar but slightly tighter.
- Meta description: roughly 920 pixels on desktop, equating to about 158 characters. On mobile it is 680 pixels, about 120 characters.
For descriptions, the safest range is 120 to 158 characters. That covers both mobile and desktop without truncation. The character count is a useful proxy, but any tool worth using also reports pixel width.
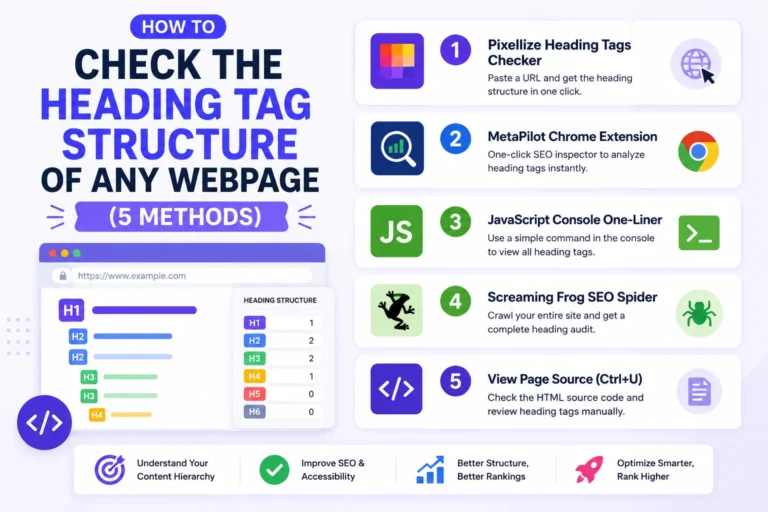
Five ways to check the title and meta description on any webpage
Each method has a clear best-fit scenario. A hosted tool wins for one-off audits with a SERP preview; manual methods become useful when you want to verify a result independently or check a site that blocks automated tools.
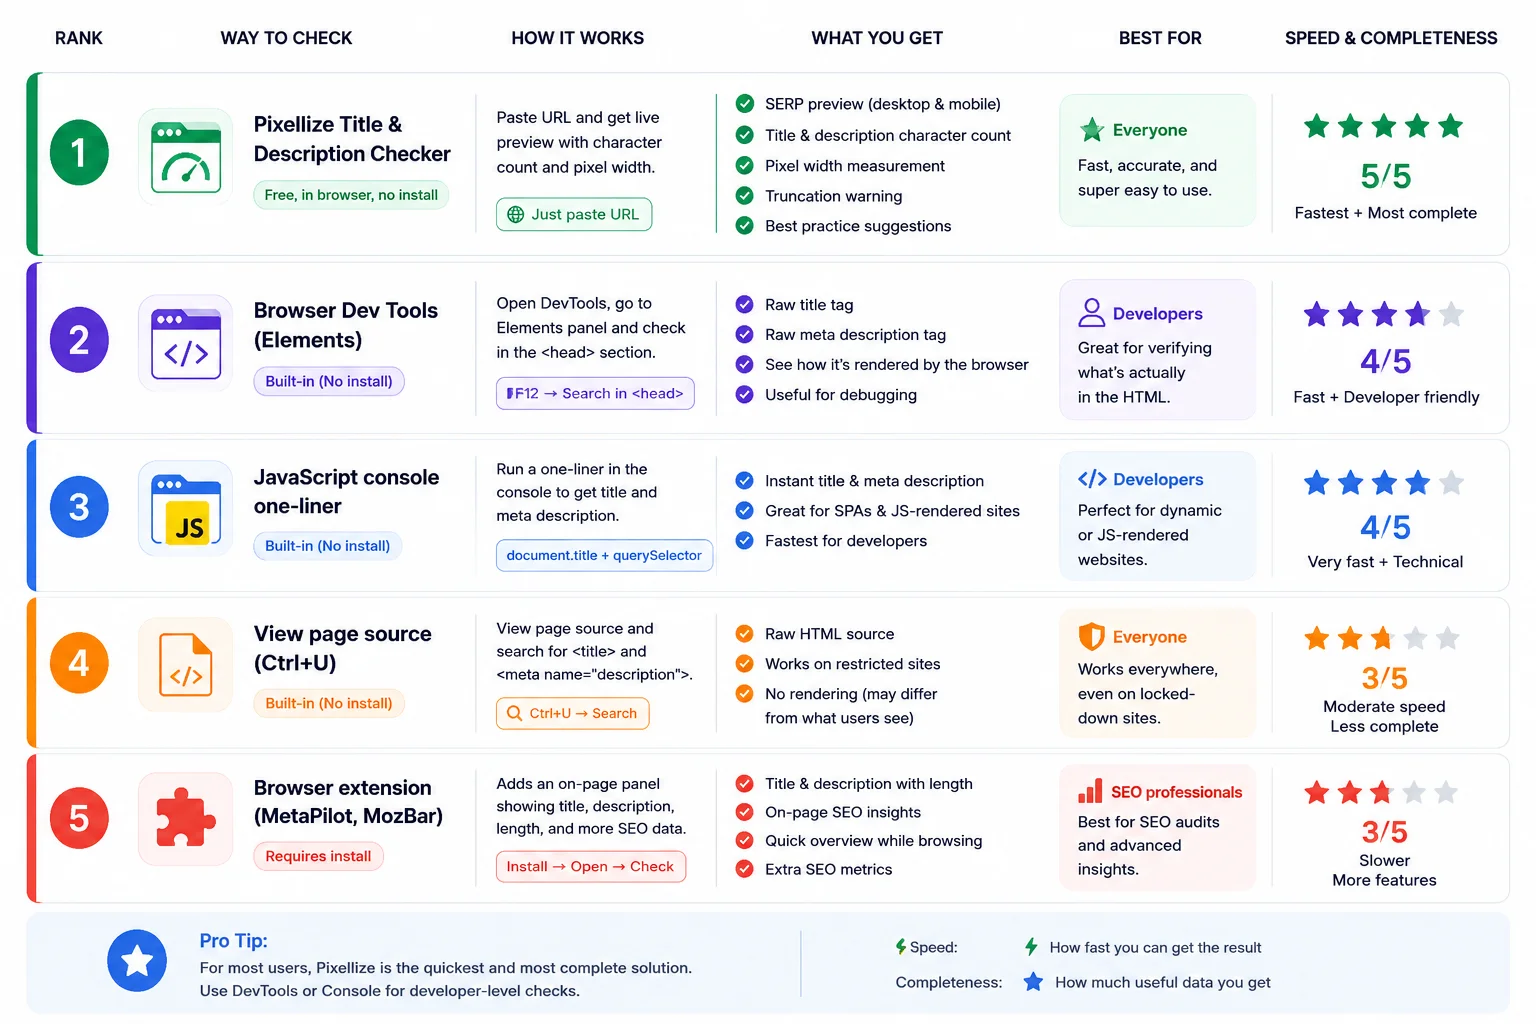
1. Pixellize Title and Meta Description Checker (paste a URL)
The fastest method is a hosted checker. The Pixellize Title and Meta Description Checker fetches any URL server-side, extracts the title and meta description, measures them in both characters and pixels, and shows a live Google SERP preview for desktop and mobile. The recommendation panel flags anything outside the safe range with a clear color-coded indicator (green within range, orange near the edge, red truncates).
Best for: a one-paste answer when you want measurement plus a visual preview of how the result appears in Google. Limitation: it checks one URL at a time, so a whole-site audit needs multiple runs or a desktop crawler (see method 5).
2. Browser dev tools (F12 Elements tab)
Open the page in Chrome or Firefox, press F12, switch to Elements (Chrome) or Inspector (Firefox). Press Ctrl+F (Cmd+F on Mac) and search for <title>. The matched element shows you the live title that the page is actually rendering, including any client-side overrides that view source would miss.
For the meta description, search for name="description" in the same Elements view. The content attribute holds the description text.
Best for: trusting your own eyes, or auditing a single-page React app where the title is set dynamically. Limitation: dev tools show the value but not the pixel measurement against Google’s limit.
3. JavaScript console one-liner
The developer’s favorite. Open dev tools (F12), switch to the Console tab, paste:
console.log('TITLE:', document.title.length, 'chars:', document.title);
console.log('DESC :', (document.querySelector('meta[name="description"]')?.content || '').length, 'chars:', document.querySelector('meta[name="description"]')?.content);
Two lines, returns the live title and meta description with character counts. The optional chaining (?.) handles pages that have no meta description tag without throwing an error.
Best for: developers running rapid checks during a build. Limitation: gives character count only, not pixel width. Pair with method 1 when pixel measurement matters.
4. View page source (Ctrl+U)
Right-click the page and choose View Page Source, or press Ctrl+U (Cmd+Option+U on Mac). Press Ctrl+F and search for <title> to find the title tag, then search for name="description" for the meta description. This shows the static HTML the server sent, before any JavaScript runs.
Best for: confirming what crawlers without JavaScript rendering see (some search engines and most social previews use the static HTML). Limitation: misses titles set by JavaScript in single-page apps.
5. Browser extension (MetaPilot, MozBar, SEO Minion)
Several Chrome and Firefox extensions add a panel showing the title and meta description of any tab you visit, with character and pixel counts. MetaPilot is a free Pixellize-built option that surfaces title, meta description, headings, schema, links, images, and an SEO score in one side panel. MozBar (free) and SEO Minion (free) are popular alternatives that focus more on SEO metrics across the page.
Best for: ongoing audits while browsing any site (your own or a competitor’s) without needing to paste URLs into a separate tool. Limitation: each user needs to install the extension; not useful for sharing results in a client report.
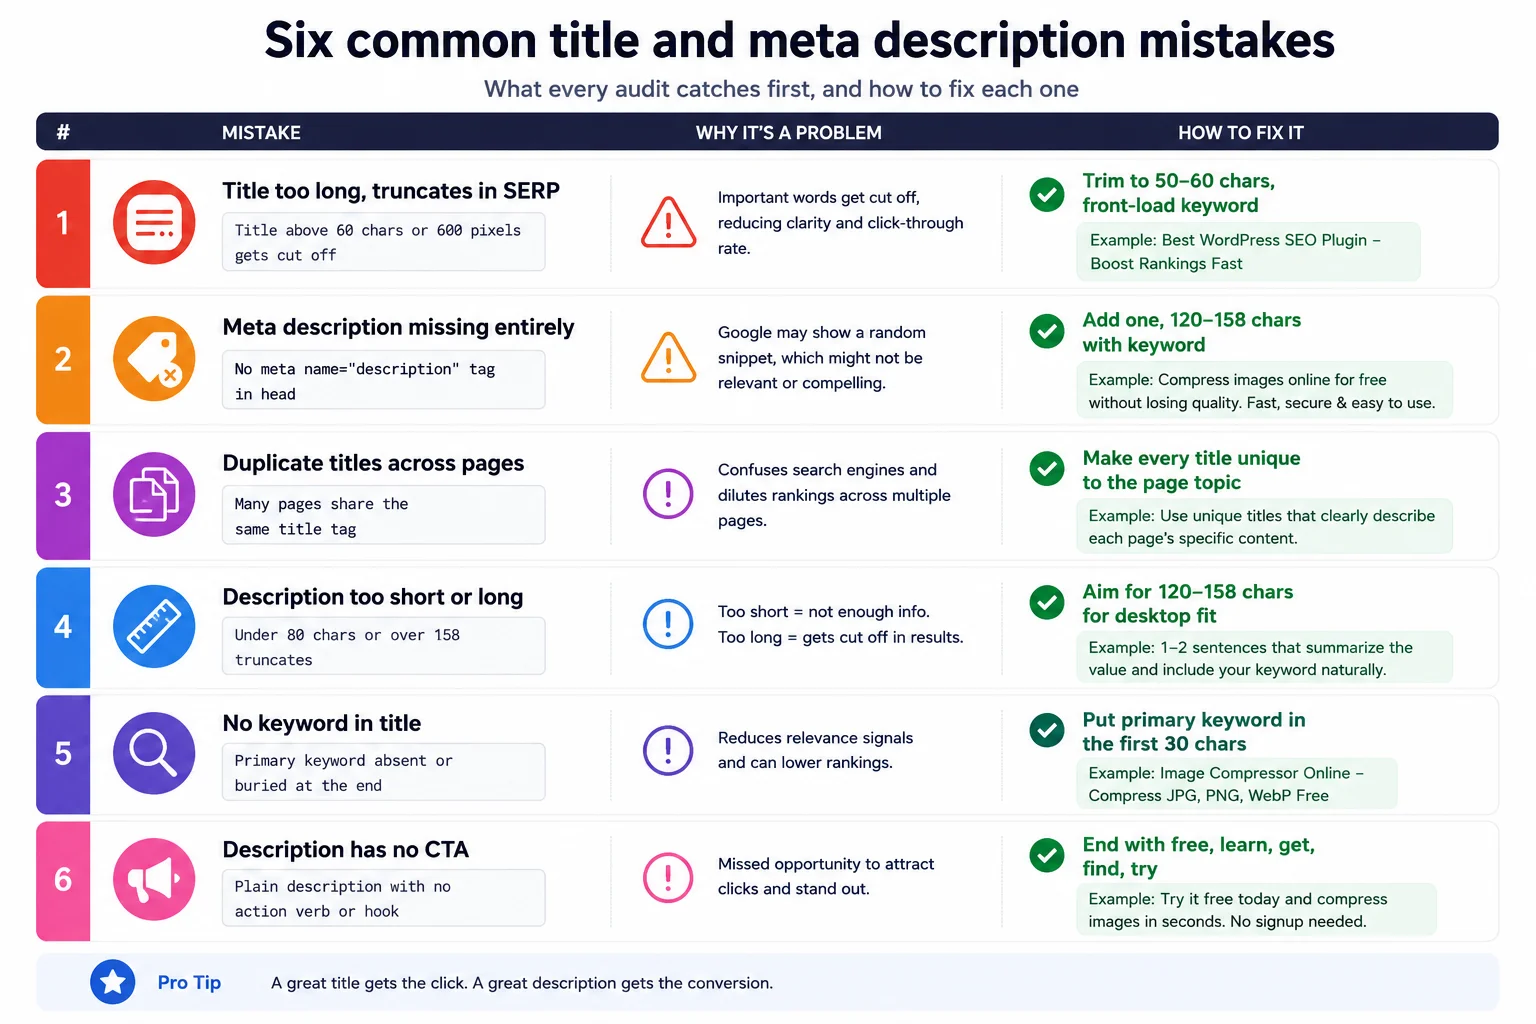
Six common title and meta description mistakes
Whatever method you use, the same six issues come up over and over. A good audit catches these first:
Title tag vs H1: when they should match, and when they should not
The title tag is what shows in the search result. The H1 is what shows at the top of the page when a visitor lands. They are NOT required to match, and on optimized sites they often differ:
- Title tag targets the SEARCH result and the keyword Google should rank you for. It can include the brand name at the end (“Best Espresso Machines Under $500 | Pixellize”) and click-bait language that fits search intent.
- H1 targets the VISITOR who already landed. It can be shorter, more conversational, and skip the brand name (since the brand is in the header logo).
When they DO need to match: when Google’s algorithm picks an H2 or H3 from the page over your declared title tag because the title looked like a poor fit. In that case, rewrite the title to be closer to what visitors actually want, often pulling language straight from the H1.
Why Google sometimes rewrites your title tag (and what to do)
Since 2021, Google rewrites about 60 percent of titles in search results, swapping in text from H1, H2, or anchor text when it judges the original title to be misleading, too long, or stuffed. If you check your title and it is fine, but the SERP shows something different, that is Google’s rewrite.
Three patterns cause rewrites most often. First, titles padded with the site name on every page (“Article Title | Site Name | Category | Section”). Second, titles stuffed with the keyword three or four times. Third, titles that do not match the page content’s actual topic. Trim, simplify, and align with the H1 to reduce rewrites.
Meta description and AI search engines (Google AI Overviews, Perplexity)
AI answer engines read the meta description (and the title tag) as a hint for what the page is about before they decide whether to cite it. A clear, specific, on-topic description increases the chance your page becomes a citation in Google AI Overviews, Perplexity, or ChatGPT browsing answers. A vague or generic description reduces it.
Best practice for AI engine citation: write the description in a way that directly answers a likely user question, including the question’s noun phrases. “Free Broken Link Checker. Scan a page or whole site, find every 404 link, export CSV” is more citable than “The best tool for checking broken links and improving your website”.
How to fix title and meta description issues at scale
One-by-one is fine for a 10-page site. For larger sites three patterns work:
- WordPress: use Yoast SEO or Rank Math to set title and meta description per page from the post editor. Both plugins show a live SERP preview and character counter as you type.
- Shopify, Webflow, Squarespace: each platform has a SEO settings panel per page where you set the title and description. Look for “SEO” or “Page settings” in the page editor.
- Custom or static sites: edit the title and meta description directly in the page’s HTML, or in the head template that generates them. Run a quarterly bulk check with the Pixellize tool or Screaming Frog SEO Spider to catch drift.
One paste, both fields, the right length
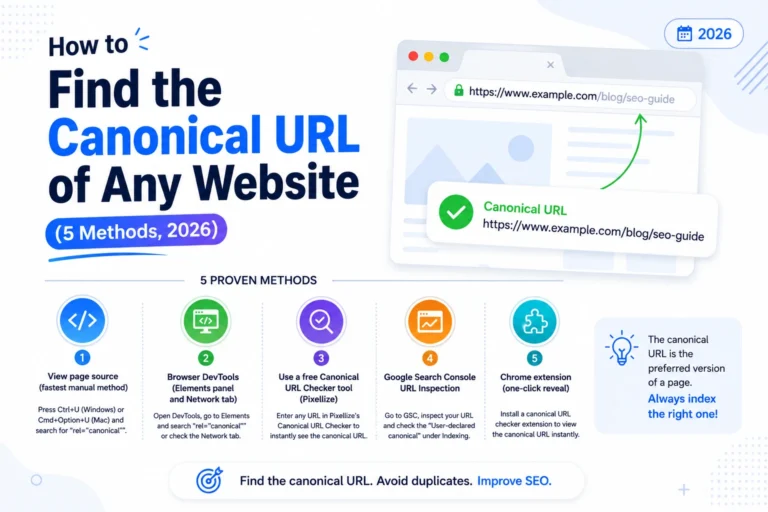
For most cases a hosted title and meta description checker gets you the answer in under five seconds. The manual methods (dev tools, console one-liner, view source, extension) become useful when you want to verify a result independently or audit a site that blocks automated tools. Knowing how to check the title and meta description of any webpage is one of the cheapest SEO skills to acquire and one of the highest-impact to apply consistently. Pair it with related quick wins like running a heading tag structure check on the same page or auditing your canonical URL to catch the full on-page SEO picture.