
How to Split a PDF (Free, Online)
You have a 60-page scanned contract, but the other side only needs pages 3 to 10. Emailing the whole thing is slow,…
Read articleCompress a PDF without losing visible quality by understanding what compression touches and picking the lightest setting that hits your size target.

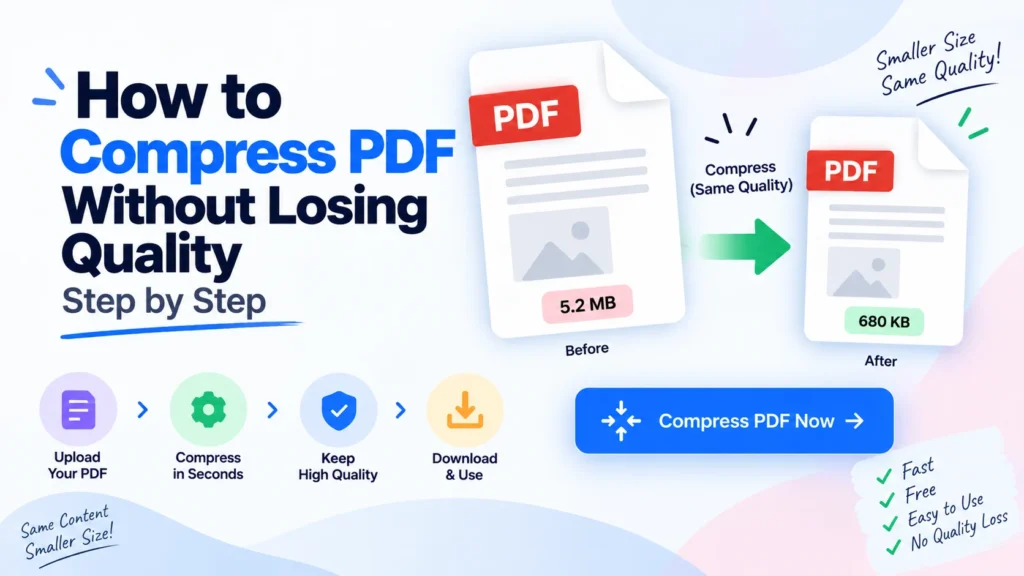
You export a PDF, go to email it, and it bounces back: file too big. The reflex is to compress it, and the fear is that compressing will turn your crisp text and photos into a blurry mess. It does not have to. You can compress a PDF without losing quality that anyone will actually notice, as long as you understand what compression touches and pick the right setting. This guide walks through exactly that, using Pixellize’s free PDF compressor, which runs in your browser so the file never gets uploaded anywhere.
A PDF is usually large because of images, not text. A page of plain text is only a few kilobytes, but a single full-color photo at print resolution can be several megabytes on its own. Scanned documents are the worst offenders, since every page is really a large image. Fonts, embedded thumbnails, and leftover metadata add a bit more on top.
This matters because it tells you where the savings come from. Compressing a text-only PDF barely changes its size, while compressing an image-heavy one can cut it by 80 percent or more. When people say a PDF compressed “really well,” it almost always had big images in it.
Compressing a PDF can reduce quality, but it does not have to be visible. Lossless compression removes redundant data and cuts size with zero quality change. Lossy compression goes further by resampling images to a lower resolution, which does lose detail, though at light settings the change is invisible on screen. The trick is stopping before the loss shows.
Think of it like resizing a photo. Shrinking a huge image slightly still looks perfect. Shrinking it to a tiny thumbnail and blowing it back up looks awful. PDF compression works the same way, and the setting you choose decides where on that scale you land. Adobe’s own compression tool describes the same tradeoff between file size and image fidelity.
The whole thing takes under a minute in Pixellize’s PDF compressor, and every step happens in your browser, so the document never leaves your device.
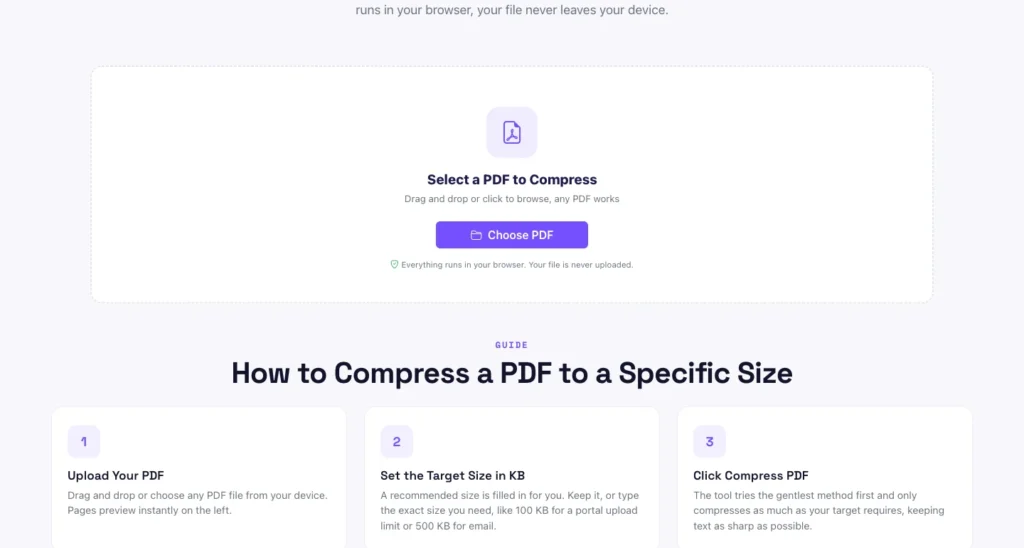
Compress any PDF to an exact size in your browser with Pixellize, free and with nothing uploaded.
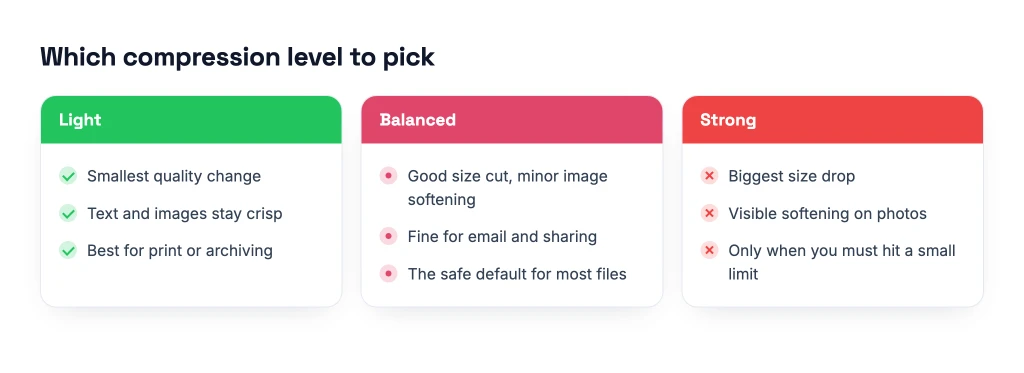
Open the PDF CompressorPick the lightest level that still hits your size target, since every step harder trades a little more image detail for a smaller file. Light keeps everything crisp and suits print or archiving. Balanced is the safe default for email and sharing. Strong is only for when you absolutely must fit a small limit.
Compression is not one action, it is a stack of them. Knowing each lever helps you understand why quality holds or slips.
| What compression changes | Effect on size | Effect on quality |
|---|---|---|
| Downsampling image resolution (DPI) | Large | Visible only if you drop below the display or print need |
| Re-encoding images at lower JPEG quality | Large | Slight softening, invisible at light settings |
| Converting color scans to grayscale | Large on scans | Removes color, keeps text sharp |
| Stripping metadata and thumbnails | Small | None |
| Subsetting embedded fonts | Small to medium | None |
The top rows do the heavy lifting and carry the only real quality risk. The bottom rows are free wins, they shrink the file with no downside, which is why a good compressor always does them first.
Shrink a scanned PDF by lowering its resolution to 150 to 200 DPI, which keeps text clearly readable while cutting size dramatically. Many scanners save at 600 DPI by default, far more than a screen needs. Dropping to 150 DPI can shrink a scanned file by 70 to 90 percent with no readability loss.
Scanned PDFs are pure images, so they compress the most and also risk the most. For a document you only need to read or email, 150 DPI is plenty, since screens show roughly 96 to 150 dots per inch anyway. If it will be printed, keep it at 300 DPI. Converting a color scan to grayscale, when color does not matter, is the single biggest extra saving you can make.
If your PDF is big because it has hundreds of pages of text, compression will barely help, since text is already tiny. The fix there is to split the document or remove pages you do not need. A contract that needs a legally exact appearance, or artwork going to a professional printer, should also stay uncompressed, because there the detail is the point.
This is the honest limit worth knowing before you start. Compression is for image-heavy files headed to a screen, an inbox, or an upload form. It is not a universal shrink ray.
Sometimes even strong compression leaves you above a strict limit. When that happens, stop squeezing and change the file instead. Use the free split PDF tool to break a long PDF into parts, or the delete pages tool to drop pages you do not need, so each piece fits comfortably. There is also a resize PDF tool if the page dimensions themselves are oversized.
Splitting keeps every page at full quality, which is often better than compressing one giant file into mush just to stay under a cap.
Most PDF compressors upload your file to a server, run the compression there, and hand back a download. That is fine for a flyer, and a real problem for a signed contract, a medical record, or anything with a name and a number on it. Pixellize compresses the PDF entirely in your browser, so the file is never uploaded, never stored, and never seen by anyone but you.
There is no account, no watermark, and no daily limit on the Pixellize compressor, because there is no server doing the work to pay for. That is the quiet advantage of browser-based tools, and it is why Pixellize built the compressor this way.
You can compress a PDF without losing quality any viewer will notice, once you know the size comes from images and you pick the lightest setting that hits your target. Start light, target an exact size, check the text at full zoom, and split the file instead of over-compressing when you hit a hard wall. Open Pixellize’s PDF compressor, drop your file in, and see how small it gets while still looking right.
Image-heavy PDFs often shrink 60 to 90 percent. Text-only PDFs shrink less, around 20 to 40 percent. Scanned documents see the biggest reduction because the scanned images carry most of the size.
No. Text stays crisp because it is stored as characters, not pixels. Only embedded images get softened, and only at aggressive compression settings.
For most everyday cases, yes. But if the PDF carries a cryptographic signature, compression may invalidate it. Keep the original alongside any compressed copy for signed legal documents.
Not directly. Remove the password first, compress the unlocked copy, then re-add the password if needed. Most online tools will refuse to read encrypted files for safety.
It was already compressed by whatever tool created it. There is only so much further you can squeeze. Try splitting the file or exporting it again from the original source.
Yes. Any modern phone browser runs the tool. The compressed file downloads straight to your phone storage. Large PDFs may take longer on a phone than on a laptop.
No hard limit. The browser handles PDFs up to a few hundred megabytes on most devices. Very large files may slow down but still work.
Founder and CEO of Pixellize.io, building AI-powered web tools and digital products with a focus on user experience and automation. M.Sc. Zoology, working at the intersection of technology, data analytics, and life sciences.